There are certain things you should do after buying your Samsung Galaxy S10. It won’t be too long, and the Korean giant would launch its next flagship device codenamed Galaxy S10 globally. This smartphone has received much hype, and we have been already told of all its specs. As expected, there were new features that debuted on this device. Well, here are the first Ten things you should do when you buy the Samsung Galaxy S10 or any of its variants.
Table of Contents
Things Should do after buying the Samsung Galaxy S10
1. Set up the device
First things first, you have to set up the device. Insert your network SIM card then boot up the device. Enter the required information to personalize your all-new Galaxy device which includes synchronizing your Google account, adding a security lock (fingerprint, passwords, pin, or pattern) and setting up your profile as the owner of the device. I advise you to use only the Fingerprint sensor. Face unlock can be easily Bypass using simple tricks.
After the device is finally booted up, check if the battery is fully charged, if it’s not, connect the charger and charge it until it gets to 100%. When the phone is now fully charged, you can start up any further customization or explore all the features it support. Setting up a device is a “must do” when you buy a new device, it can’t be overemphasized.
2. Check out for updates

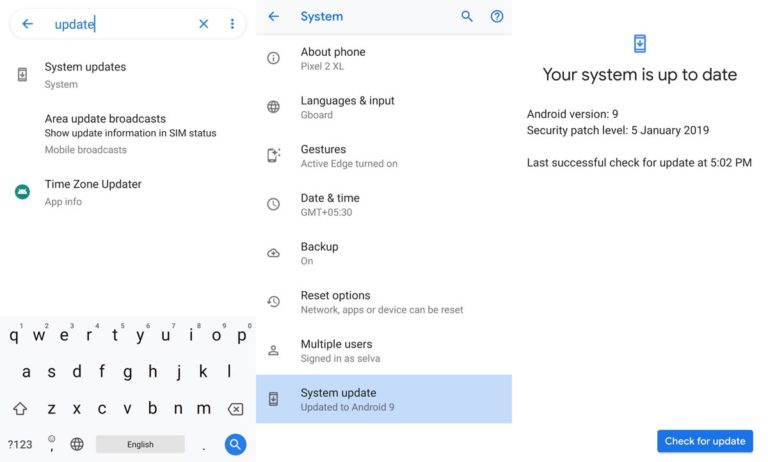
Don’t be too confident to believe that your S10 device comes with the latest software version. Most times, smartphones get launched before their software update rolls out. Even, in most cases, if you didn’t buy a device on time, it is likely that it runs on a former software version for the model. Thus, you need to check out if your device is running on the latest version before proceeding to explore other features or customize the device to suit your taste. To check if your device runs on the newest version, go to settings >>> about.
3. Download your apps
Almost everything you could do with a smartphone starts with you downloading an app. However, while setting up an Android device, once after synchronizing your Google account, you’ll be prompted to install the apps that were previously available on your recent Android device. Accepting the prompt with trigger an automatic process which will get all the apps installed on your old device to the new S10. However, if you skipped that, launch the Google Play store and install your favorite apps manually. Then, you can start customizing your device.
Once you’ve got your favorite apps installed on the device, now you can start arranging them for quick access while customizing your device look.
4. Customize the device to your taste
After setting up the device, check out for updates, and downloading your apps, it’s time to customize your Galaxy S10. Start by choosing a premium wallpaper, then, move to the notification tones which includes alert sounds and ringing tones. Also, you can look up for a classic theme to transform the look and feel of the device. It’s now up to you to customize your Galaxy S10 to look unique and catchy.
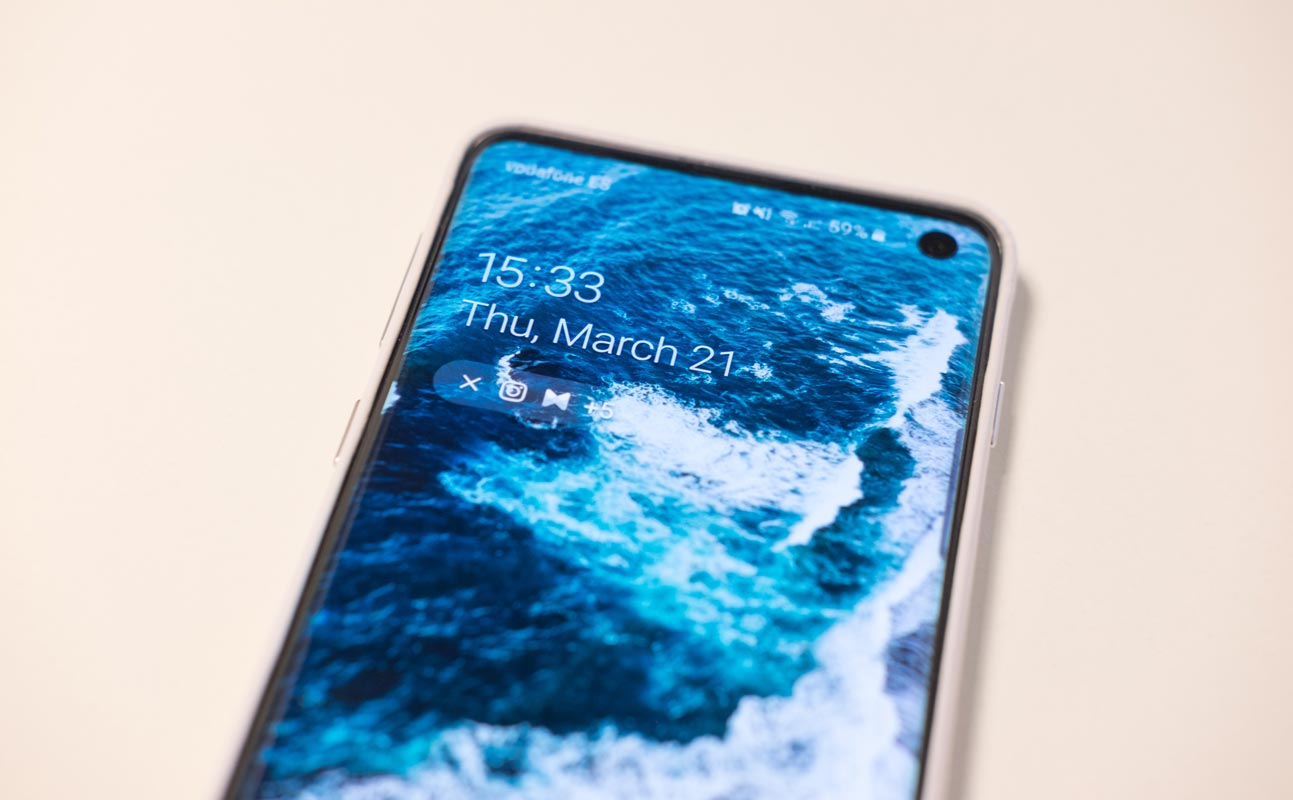
Activate the unique features of S10 such as the edge panels and always-on display. Go to settings >>> display >>> edge screen > edge panels to activate the “edge panel” feature and on the same settings menu, go to the “Lock screen” option to enable the always-on display. You can also use your Camera cut-out to get a notification.
Note: activating these features on your S10 will cause the battery to drain faster than when there are deactivated. Well, you’re still testing your new device, anyway.
5. Launch the Good Lock app

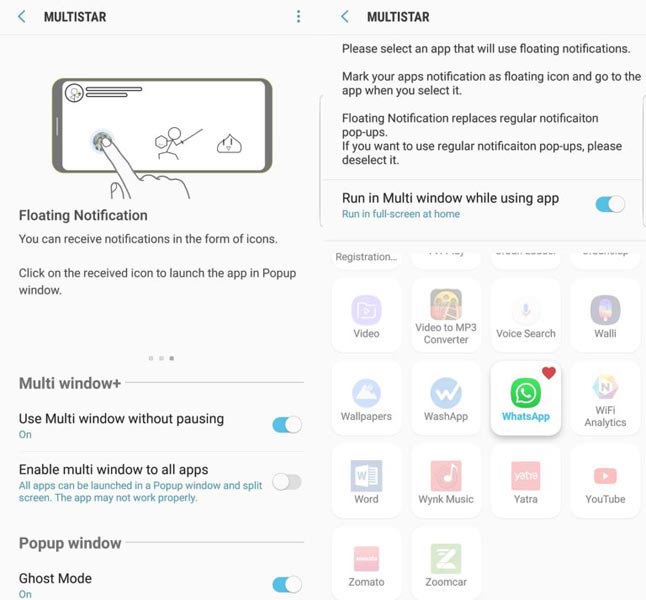
Tons of features are available in Samsung’s Good Lock app, start by exploring them to customize your new Galaxy further. From here, you can redesign how your notification panel should look like. Also, on the Good Lock app, you’ll be able to run several other customizations that could make people marvel when they handle your device. Try to leverage the various features of this app to customize your S10 to the fullest.
6. Remap the Bixby button
The company’s virtual assistant Bixby is more accessible and flexible on Galaxy S10; the device features a dedicated side push button that will launch the assistant immediately. This push button is available at the left side of the device, and the good news is that it can be remapped. By “remapping” it means you can configure this Bixby button to run another command instead of launching the assistance when pressed. Depending, you could set the switch to open the camera, Bluetooth, or even start an app.
Configuring or remapping this button isn’t a biggie; go to the device settings menu and scroll down to the Advanced Features, then tap on Bixby Key to remap the button.
7. Disable those annoying bloatware apps
Another essential thing to do is disable all the un-useful bloatware apps that you’ll find on the device. Frankly, those bloatware apps can be very annoying, and they occupy flexible space that could contain other vital apps you need to install.
Disabling these apps is still done the native way as you would on any Android device. Go to Settings >>> apps >>> select the bloatware apps, force them to stop and then disable them. Once they are disabled, they won’t appear on your app drawer anymore. It may not entirely work as expected, compared with rooting.
8. Configure a secure folder

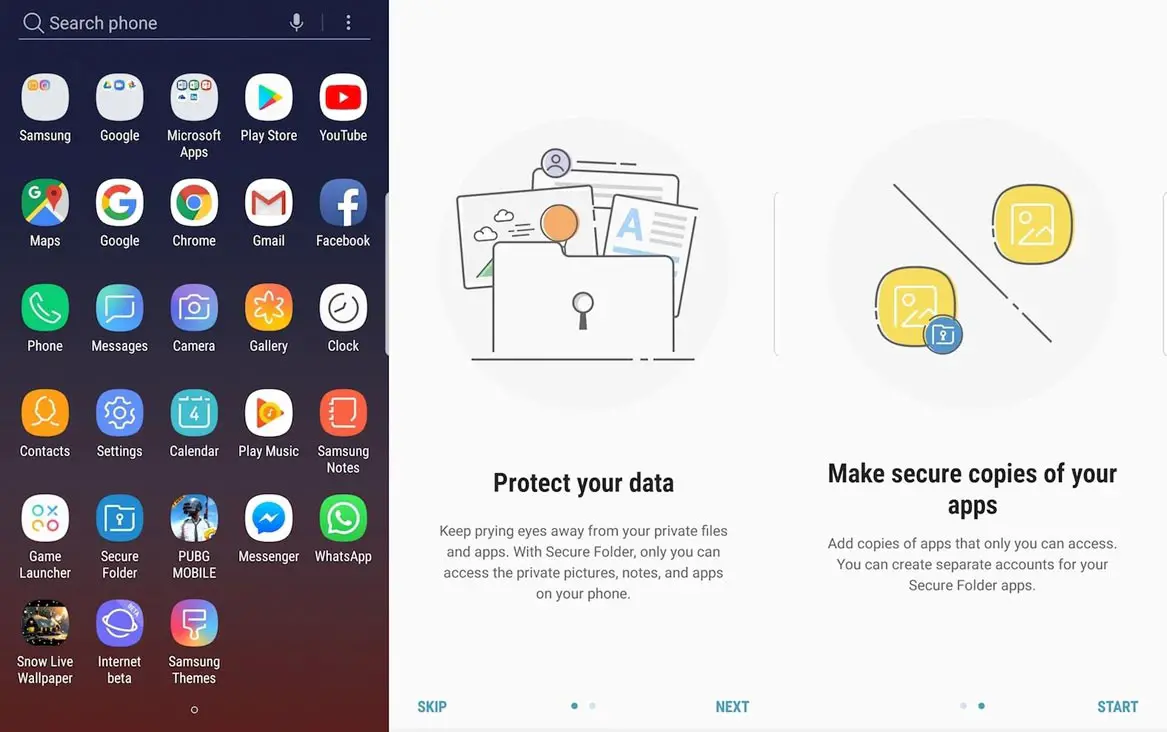
Well, you need to have a Samsung account before you can activate a secure folder on your S10 device. However, creating a Samsung account isn’t a tough task. If you already have an account, launch this app on your S10 (it is available by default on your app drawer), sign in using your Samsung account info, and start adding files to the folder.
All the files you’ll add into this folder are secured. You’ll have to set up a security verification method for accessing the files; maybe fingerprint verification, password, or pin verification.
9. Maybe you need a custom launcher
Some people don’t always love the default launcher on their Android device. If you’re such a kind, hit the Play store and install your preferred custom launcher.
10. Get a pack for your device
Finally, you need to get a protective casing or pack for your new device. This pack or cases will help to safeguard the device in case it mistakenly falls to the ground, or something of such nature occurs.
More unique features are available on Galaxy S10, make sure you explore ALL! Including “dark mode.”
Conclusion
I Listed some essential steps to set up your device. Beyond this, If you feel I Missed anything, comment below, I will include them in the list.

Selva Ganesh is the Chief Editor of this Blog. He is a Computer Science Engineer, An experienced Android Developer, Professional Blogger with 8+ years in the field. He completed courses about Google News Initiative. He runs Android Infotech which offers Problem Solving Articles around the globe.


Leave a Reply