Compare with Other Manufacturers, Moto OS is always near Stock Android. They can perform well with the same specs that have Custom Skin OS. You continually update your mobile using the Software Update option in settings. But, When you moved to a different region, or You have Rooted mobile, you may not get the updates via OTA. In those situations, you have to flash the firmware using one of the below methods manually. When you have rooted mobile, you should flash Magisk after you installed firmware using TWRP. Or Else, you will lose root access. I mentioned a few methods to do this manually. Try the Internal way first. When you fail to load the OS, you can try the ADB method.
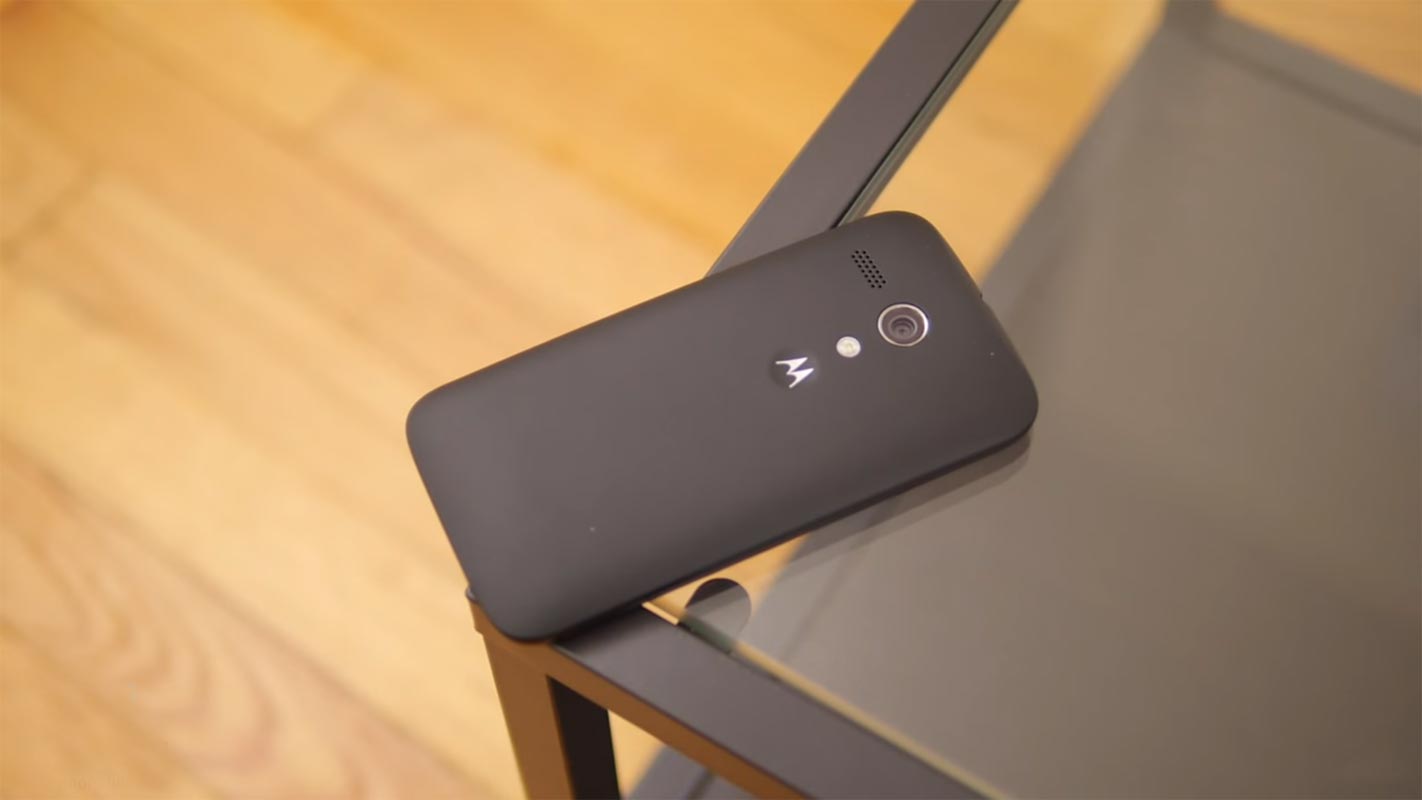
If the ADB method does not work for you, try with the RSD Lite process. Most of the time, it gives you a high success rate. When you accidentally bricked your mobile, you can use the RSD Lite method. This method is also used to Remove root access form your mobile and bring back Stock Recovery.
Table of Contents
Android Marshmallow 6.0, 6.0.1 Firmware Flash- Moto G3 2015 Variants
Official OTA Method
If you’re going to update a security patch to the current month. Don’t go for the manual method. Try this Automatic method.
The process is straightforward and simple;
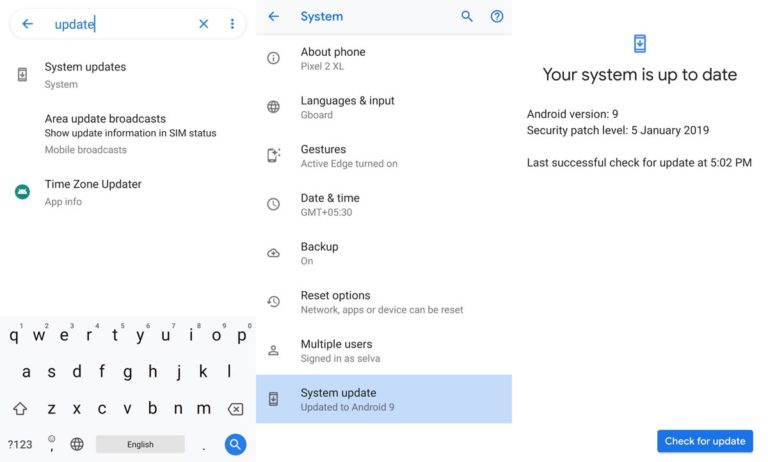
Go to your device setting menu and scroll down to the bottom
Tap on “Software Update”
You may have to refresh the page to start the OTA upgrade process.
Manual Method (Region and International Variants)
Note
- Check Your Device Mobile No. If you flash Different model number, you will lose some features based on your region.
- Battery Percentage Above 50.
- Backup Your Device.
Download Firmware
6.0 Version
6.0.1 Version
- XT1548- (Sprint/ US-Cellular)
Using Internal Memory Method
This method doesn’t require PC support, download, and installs within your mobile. It will work only with Stock firmware installed on your mobile. If you are already using Custom OS, move to the next method.
- Copy downloaded firmware to your mobile, Rename it to Blur_Version.zip, and copy it to your Internal Root Memory. Copy>> Internal memory. Don’t put in any folder, and Don’t change the name of the file.
- Now Go to settings >> Apps and Notifications >> Show all apps >> Show system apps.

- Go to Motorola Update service >> Permissions >> Enable Storage permissions. After enabling this permission. Now update as usual OTA Method.
Go to your device setting menu and scroll down to the bottom
Tap on “Software Update”
You may have to refresh the page to start the OTA upgrade process. Instead of download from Server, this update process will update from your Internal memory.
Using ADB and Fastboot method
This method requires PC support; You can also use this method to use Stock ROM If you are using Custom ROMs.
Download and install the Moto USB driver to your computer system.
Also, download the ADB drivers. Install it on your PC.
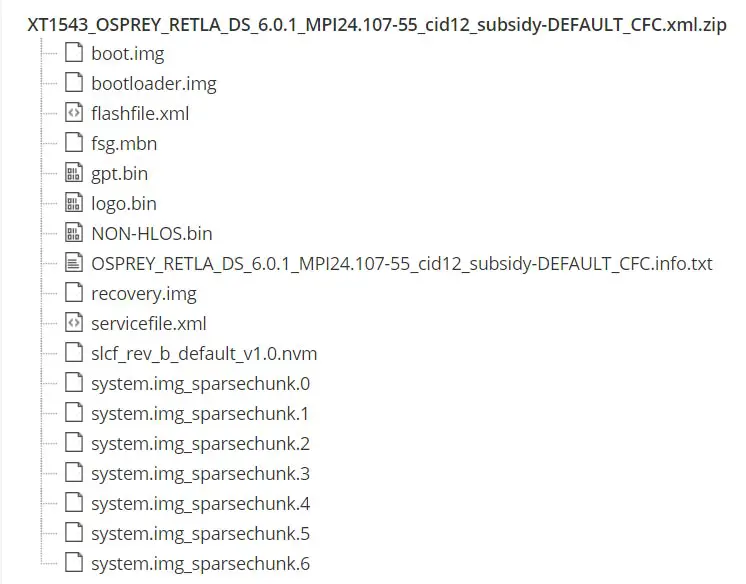
- Copy your downloaded firmware to PC and Extract all the files from the .zip. Copy those files to the folder where you installed ADB and Fastboot.
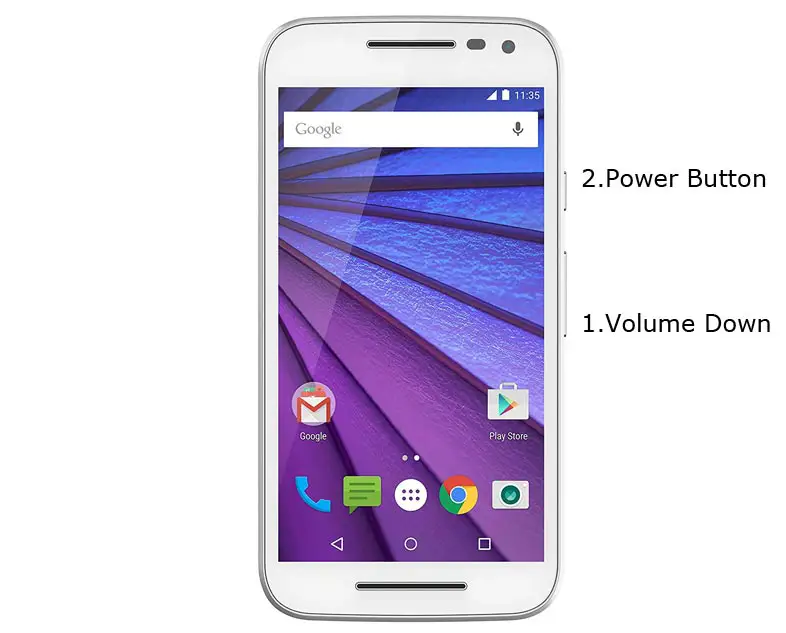
- Switch off your device. Then, enter into Fastboot mode. To do this- Press and hold down the Volume Down + Power buttons at the same time for some time.
Press the Volume Up button to continue when you see the warning message.
Now, connect the Moto G3 2015 mobile to the computer via USB cable.
Launch the fastboot on your computer. Open a Command prompt on your PC and type below command.
- fastboot devices
- It should display the connected devices. If you didn’t get the device, restart the command prompt and Disconnect and Connect your Moto G3. If you are detected, type below commands.
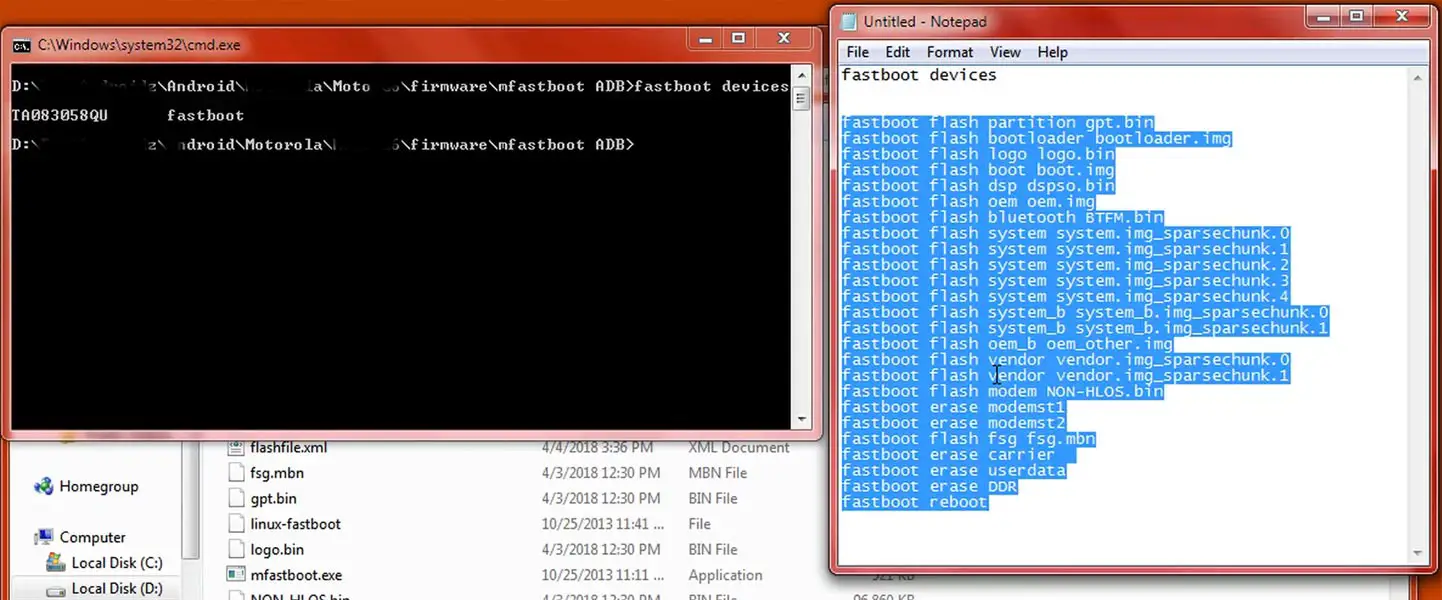
- For your comfortable use, I added all the commands in the text Document so that you can easily paste in your Command Prompt. Download Moto firmware flash commands.txt.
- You don’t have to type every command. Copy all the commands and paste in the command prompt. It will execute the commands one by one.
- Wait for the process to complete. After the process complete, It will boot into your flashed OS.
RSD Lite Method
This method can be used to flash firmware if you are using Custom ROM or a rooted device like that. You need a PC for this process. If you already rooted or have Custom OS, your bootloader is unlocked. But if you relocked your bootloader, you should unlock the bootloader. After unlock, Follow the below steps one by one carefully.
Unlock Bootloader using ADB and Fastboot
- Switch off your device. Then, enter into Fastboot mode. To do this- Press and hold down the Volume Down + Power buttons at the same time for some time.
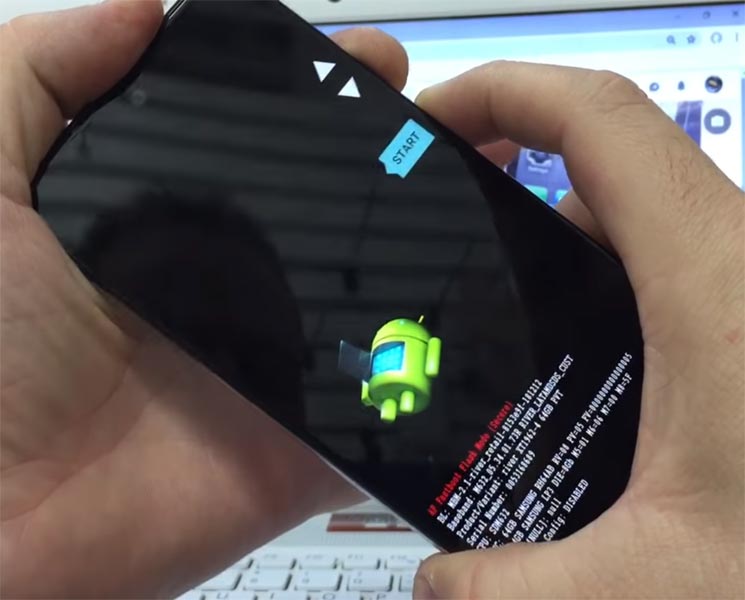
Press the Volume Up button to continue when you see the warning message.
Now, connect the Moto G3 2015 mobile to the computer via USB cable.
Launch the fastboot on your computer. Open a Command prompt on your PC and type below command.
- fastboot devices
- It should display the connected devices. If you didn’t get the device, restart the command prompt and Disconnect and Connect your Moto G3 2015. If you are detected, type below commands.
- fastboot oem get_unlock_data
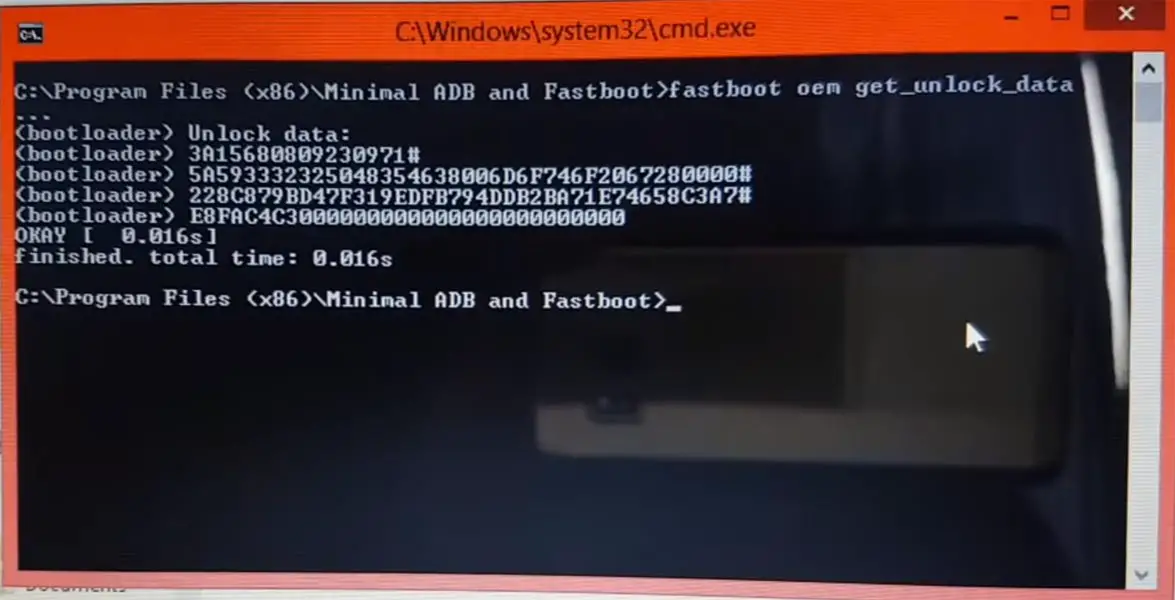
- Hit enter, you will get some unlock data. Copy those codes and remove <bootloader> Prefix from those lines and copy them into one single line.
- Go to Official Moto Unlock Page. Log in with your moto account and in the Box, Paste those codes and Check the unlock Bootloader Status. If you get, Yes you can unlock, You can request unlock Key from Moto.
After the process completes, you will get 20 Digit to unlock the key in your email. Now type the following command to unlock bootloader on your device.
- fastboot oem unlock UNIQUE CODE
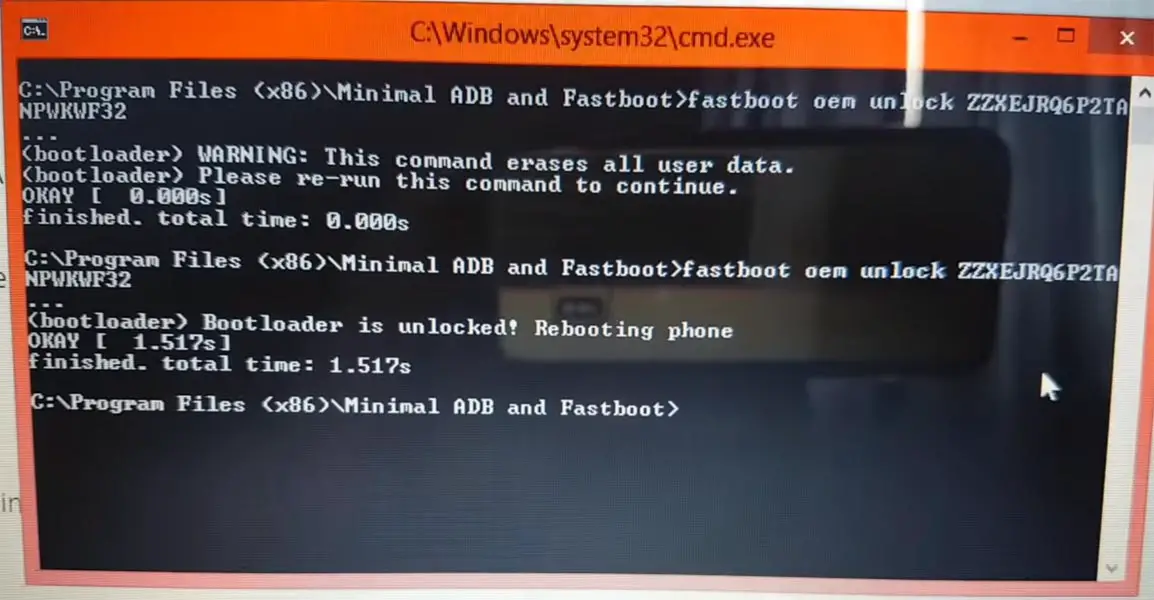
You should type this code two times and Hit enter to unlock your device successfully. After the successful unlock, your device will automatically reboot to the standard OS.
- Check again enable “Developer Options,” then go to the “Developer Options” and enable USB Debugging Mode, OEM Unlock and Enable the “Advanced Reboot.” Sometimes they disabled themselves after the boot.
Flash Firmware using RSD Lite
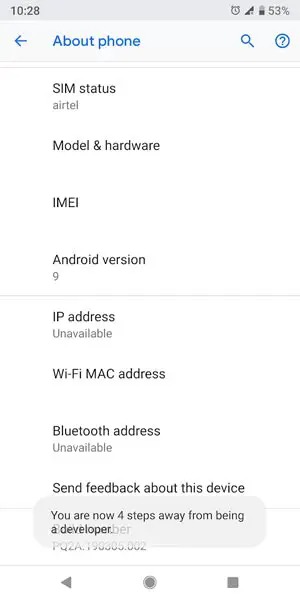
Enable USB Debugging Mode and OEM Unlock; you’ll find these options at Settings >>> Developer options. If you didn’t see the developer options on your settings menu, then go to about >>> build number; click on the “Build Number” row for about ten times continuously to activate “Developer Option” on your device.
- Download Motorola USB driver and install it on your PC.
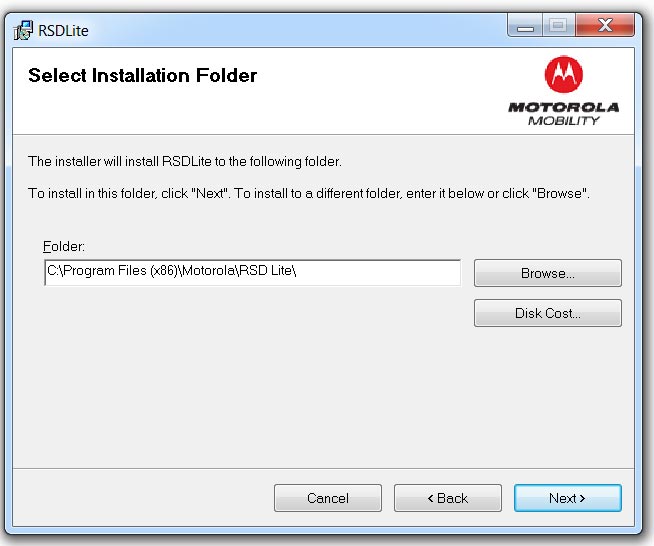
- We are using third party software flashing. Download RSD Lite and install this also on your PC.
- Connect Your Mobile With the PC Using USB Cable.
- Switch off Your Mobile and Enter into Fastboot Mode->Press and Hold Volume Down+ Power Button.
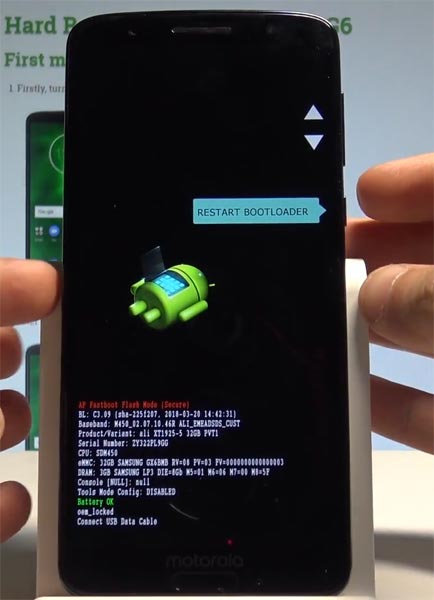
- Release all the keys when you enter into Fastboot mode.
- Now Launch RSD Lite Select Your Downloaded Firmware Using this “…” The symbol in the RSD Lite.
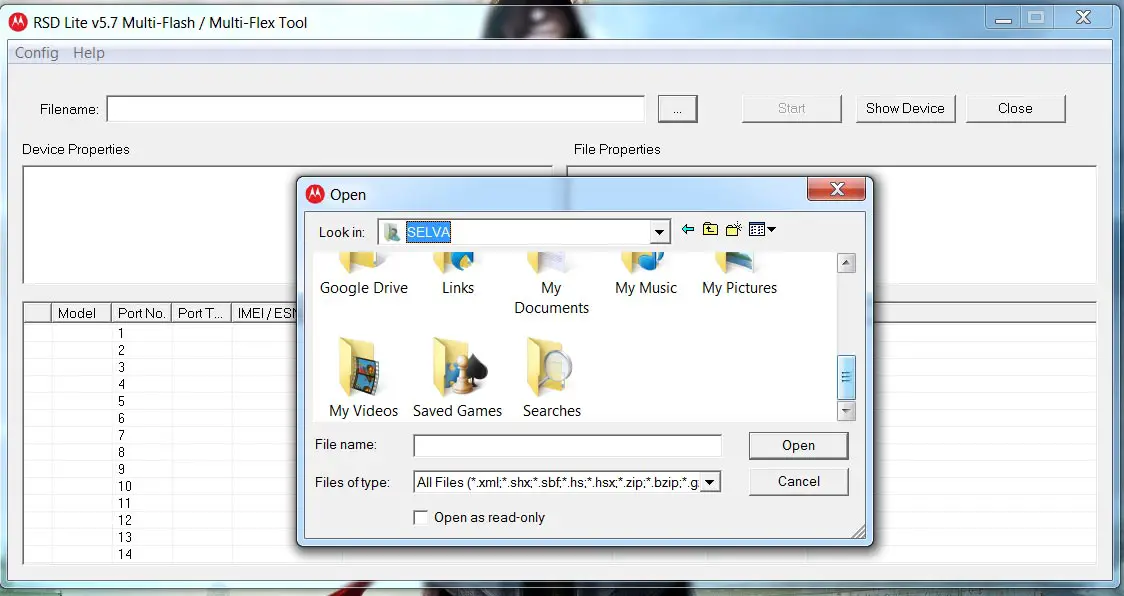
- It Will Asks For the Unzip Just Select Uncompress.
- Check With Your Mobile Details.
- Now go to Your Mobile Press Volume Down Key And Select AP Fastboot. Make Sure that USB Connected Message is Display(Transfer Mode: USB Connected).
- Now Select the Start in the RSD Lite Wait For the Process to Complete, Your Mobile Will Reboot After the Process Completion.
- You can Check the Firmware Details->Settings->About->Version.
Motorola Marshmallow Features
This firmware update updates your mobile to marshmallow 6.0.1 with a lot of upgrade features compared with Lollipop 5.1.1.
Settings Shortcuts
- You can create shortcuts to access particular Action in settings.
Lock Screen
- Locks screen is the same as the Lollipop version, But you can expand the notifications within the Lock screen. If you didn’t hide information on the lock screen.
Home Screen
- Google Search bar added with some enhanced Voice command Features.
App Drawer
- Now you can list the apps based on Alphabetical Ascending or Descending Order. It helps you to select the apps quickly.
Notifications and Quick Settings
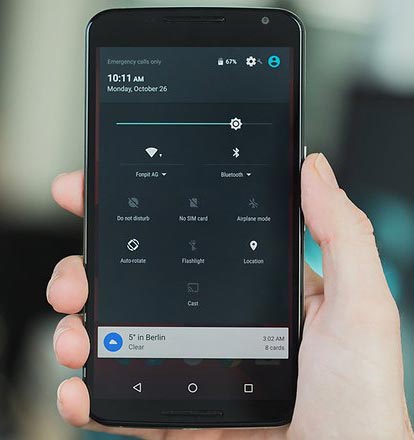
- Single Swipe will expand the notifications; Double Swipe will reveal the Quick settings menu.
Animations
- You can customize app open-close transition, Swipe transition, and More.
200 New Emoji
- There is plenty of new emoji added in the emoji set. Where you can use them in any text area.
Android Pay
- Android Pay added to work seamlessly with your device NFC.
Battery Management
- You can Monitor your Battery life based on the usage. Where you can also check when you charged 100% When your battery drains off like that.
Use SD Card as an Internal Storage- Adaptive Storage
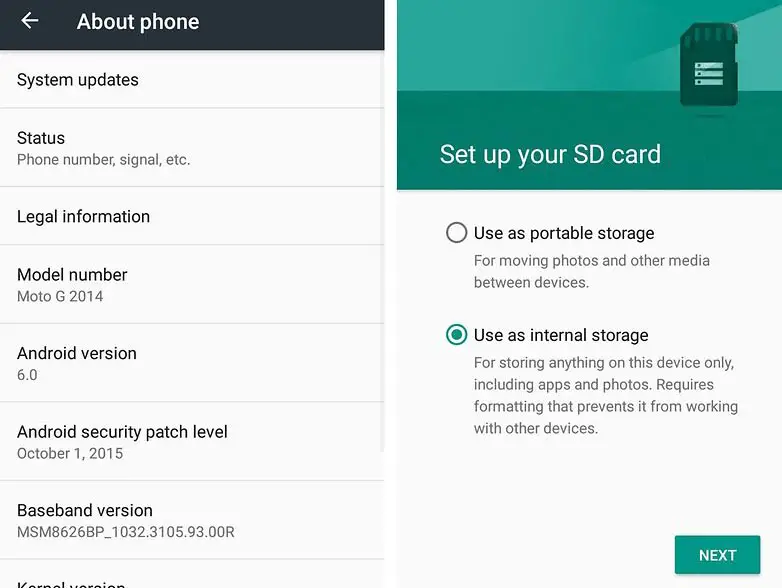
- SD cards can be used as an Internal Storage, But they may be slow compared with the actual Internal Storage.
App Permissions
- View which your App uses permissions. If the app looks suspicious or using additional permissions, you can analyze using this feature.
Text Selection
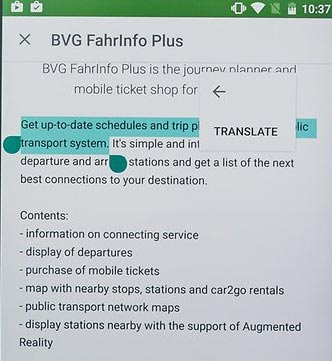
- A lot of features added within Text selection- Copy, Paste, Select All, Search, Translate.
Benefits of Stock Firmware
There are plenty of benefits to using stock firmware. Below I Mention Major two.
- Security- Yes, you will receive regular security patch updates, directly from your Manufacturer.
- Hassle-free usage- In Rare cases, if you misuse rooted devices, It may lead to some lag in usage or Random Restarts like that. In those situations, you can recover your mobile by Flashing Stock firmware.
Wrap Up
If you are in Stock firmware, Use the Internal Memory method. It is comfortable and safe; You can update like a Regular OTA Update. But if you were already using Custom OS or Rooted devices, You can try RSD Lite Method or Fastboot. Don’t download any third-party apps; sometimes, it may trigger the updates process. There are a lot of new features available in this Update, try them also. In my opinion, Moto near Stock Android is better to compare with some other Custom Skin OS. So try to use this OS instead of a Custom OS. But the decision is your choice…:)

Selva Kumar is an Android Devices Enthusiast, Who Can Talk and Write About Anything If You Give a Hint About the respective devices. He is a Computer Science Graduate and Certified Android Developer, Making His Career towards this Technology. He is always eager to try new Android devices — not only Software level but Hardware-level Also. Beyond this, He is a Good Swimmer, Guitarist.


Leave a Reply