With Just 2 GB RAM and Bloatware are an occupied lot, You have 400-500 MB free in your Samsung Galaxy J4 Plus. So, you have to get rid of these unwanted background apps. When you have root access to a device, it means that you are now the sole administrator of that device. Also, the warranty support initially packed by a device gets void immediately you root the void. The truth is, rooting a device or a smartphone is a complex task which requires professionalism. Nevertheless, with the comprehensive guide, we will provide in this article, you would be able to root Samsung Galaxy J4 Plus SM-J415 by yourself and do it correctly. 
Table of Contents
Why root your Samsung Galaxy J4 Plus?
As I already mentioned RAM Management is worst in J4+ Devices. Once after rooting a device, you now have unlimited access to customize the device so that it meets your preference. Furthermore, you’ll be able to do quite a lot of things after you have successfully rooted a device, such as flashing custom ROMs, 3rd party apps, kernels, bloatware, etc.
Well, aside from the device warranty being voided, there is no other disadvantage for rooting this smartphone.
This smartphone is one of the best mid-range Samsung devices you can have; its features are great. However, it comes with some unuseful apps which you may want to uninstall but you can’t. Yeah, some pre-installed apps cannot be deleted unless you root your device. Inside the hood of Samsung Galaxy J4+ lies some mid-range chipsets which power the device to work. The J4+ smartphone is good for everyone on a budget, so, here is how to root the device.
We will try to make this post appear very simple and straight. This post includes comprehensive details on how you could install the TWRP Recovery on a Samsung Galaxy J4+ smartphone (Models: J415F/FN/G/DS ). Well, we know you can update your device software via OTA, but rooting cannot be done via OTA. So, we have equally provided the unique tools needed for this with their respective download links.
Things to note and do before proceeding to Root
Look out for your device mobile no. In our experiment, we try with Android Version 8.1. If you want to root pie version refer- Root Samsung Galaxy J4 plus Pie.
Ensure your phone battery percentage above 50% (A fully charged battery is recommended)
Backup everything you have on the device, just in case…
Download and install the Samsung USB driver software on your computer system.
Get the Odin flashing tool, extract its entire file, and install it on your PC.
Also, download the unique TWRP for Samsung Galaxy J4 Plus / AFH Mirror. Thanks to XDA Developer ashyx for his hard work to make this TWRP file for us. Without him, it is not possible.
Finally, download SurperSu Beta app for Galaxy J4 Plus. Copy it in your mobile internal memory. It is working great, no worry about the beta.

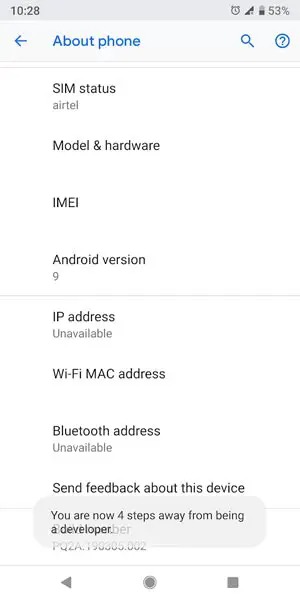
Enable USB Debugging Mode and OEM Unlock; you’ll find these options at Settings >>> Developer options. If you didn’t see the developer options on your settings menu, then go to about >>> build number; click on the “Build Number” row for about ten times constantly to activate “Developer Option” on your device.
Major Part 1: Flash TWRP Using ODIN
Switch off the mobile device.

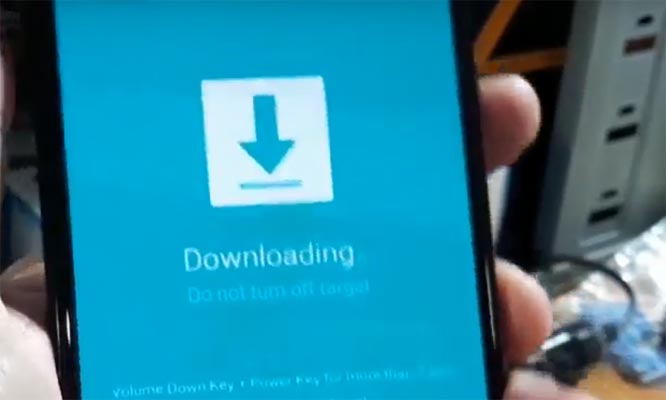
Boot into download mode by holding down the Volume Down + Volume Up + Power Button at the same time.

Press the Volume Up button when you see the warning message to continue
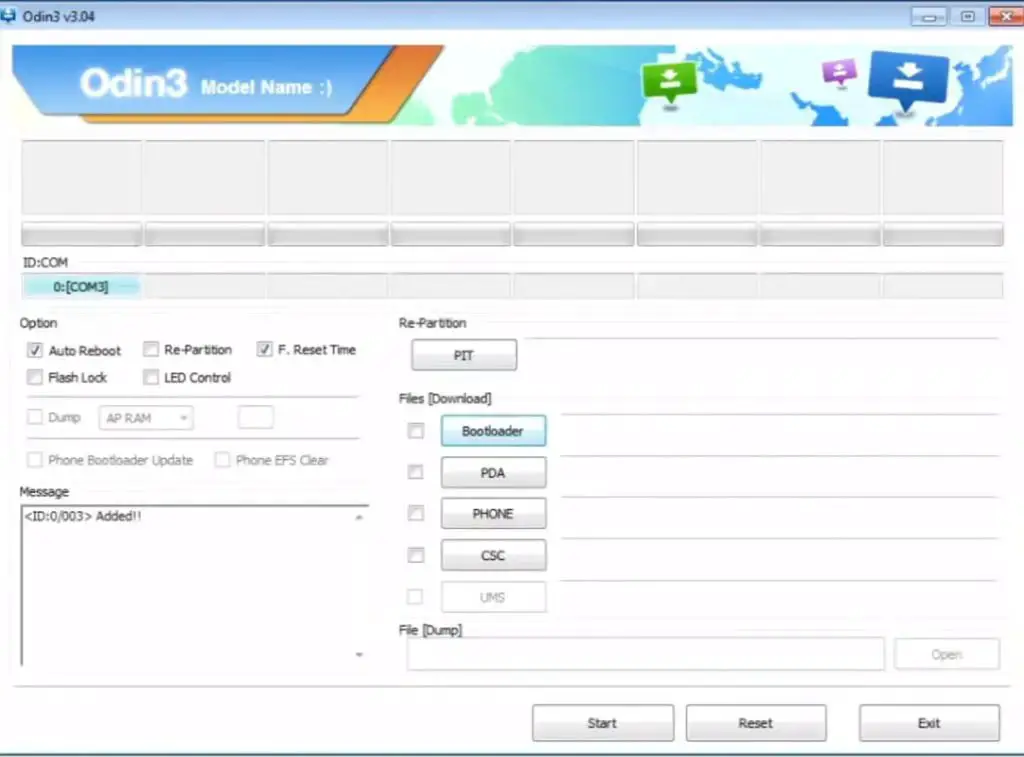
Now, launch the Odin app which you must have installed to your computer, then, connect the Samsung J4 Plus using a USB Cable.

Usually, you should see an “Added!!” message to prove that your device is successfully connected to the Odin app. Retry the steps above if you don’t see this “Added” message.
Click on the PDA or AP to get out the TWRP Recovery file from your computer and send/install it to Samsung Galaxy J4 Plus.
Also, navigate to the “Options” tab and un-tick on “Auto-reboot.”
Click “Start” for the TWRP Recovery File to be installed on your device.
You are DONE.
However, to confirm if the TWRP Recovery installed currently, the switch of the device and reboot it in recovery mode by holding down the Volume up + Volume down + Power button. If you checked and the TWRP is correctly installed, go ahead to root your device with the SuperSu app following the quick steps below;
Major Part 2: Install SuperSu to Root your Samsung Galaxy J4 Plus
Switch off the mobile device and reboot it in recovery mode, if you already in Recovery mode skip this step ->Volume Up + Volume Down + Power Button.
Automatically, the device will boot in TWRP Recovery Mode; tap on Wipe >>> Advance Wipe >>> Select Cache Data.
Go back to the main menu (Home) in TWRP recovery mode and tap again on “Install.”
Now choose SuperSu.Zip and install it. if you want to install other versions try other SuperSu versions.
After Installation, go ahead to reboot you Galaxy J4 plus smartphone.
You have just rooted the device.
You will find the SuperSu app icon on your apps menu. So, you can manage the root access from the SuperSu app by tapping on the icon.
What more?
You have just learned how to install the TWRP recovery file and root Samsung Galaxy J4 Plus. However, if there is any question you’d want to ask, comment under this post and any of our experienced team members will attend to you.

Selva Ganesh is the Chief Editor of this Blog. He is a Computer Science Engineer, An experienced Android Developer, Professional Blogger with 8+ years in the field. He completed courses about Google News Initiative. He runs Android Infotech which offers Problem Solving Articles around the globe.


Leave a Reply