Google launched its separate Google TV platform with its Google TV Chromecast dongle. Compare with other TV custom skin launchers; It is pretty good and clean. Users want to use this UI in their Android TV devices. Fortunately, since Android is a general platform for all these devices, We can install Google TV UI in almost all supporting Android TV, Android TV box and Dongles. Also, there is no need for advanced technical knowledge needed to install the UI. Like installing offline apps in your mobile, We can do the process. Yes, there may be some command interactions. But that task is also a basic step.
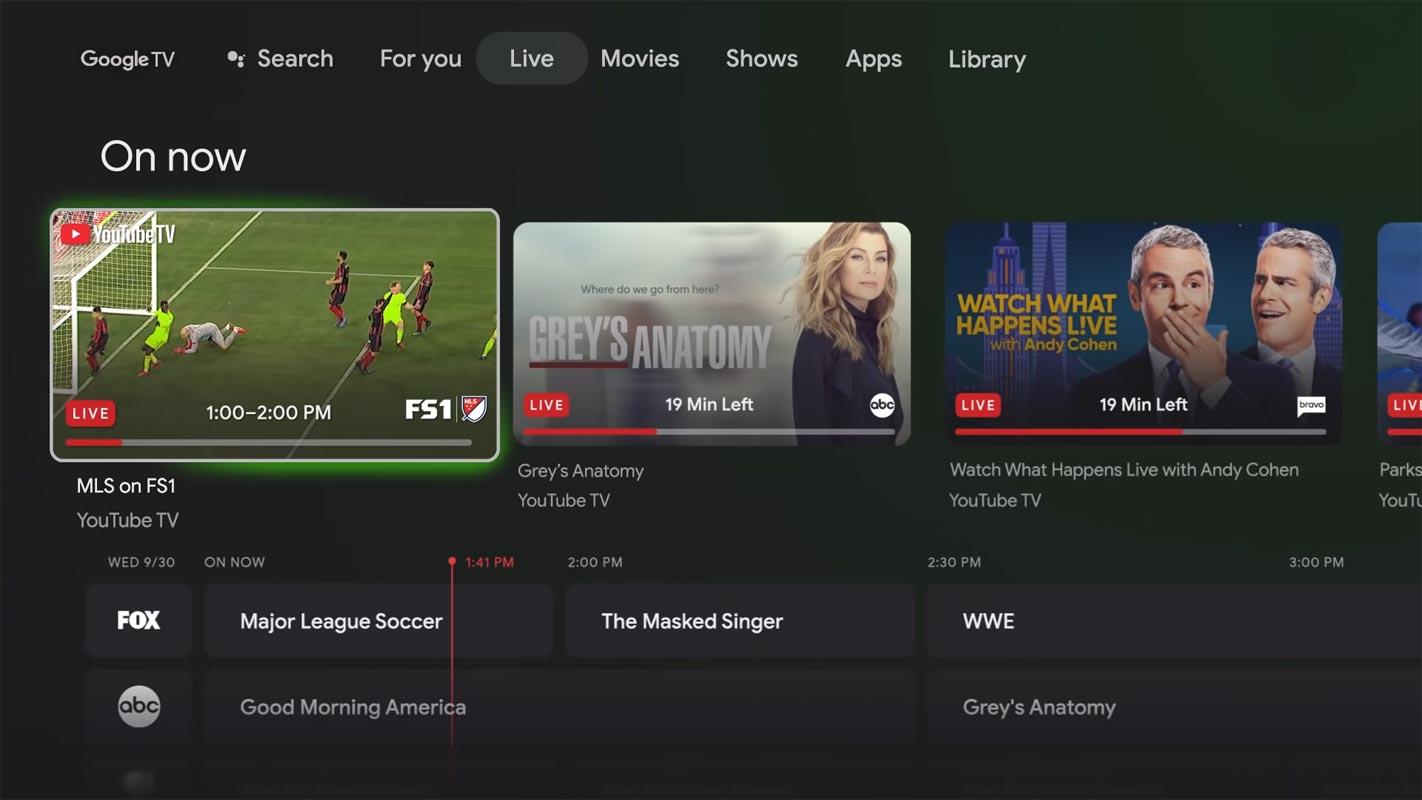
Google New TV UI in All Android TV Devices using Apps
We need three application files for the process, and we need Developer access in your Android TV.
Things to check out for;
-
Make sure your TV is based on Android OS. Some of the Smart TVs may look like Android, But they are made of custom OS of the manufacturer. You can check these details in the Settings>About section.
-
You should have Android Pie 9.0 or above version on your Android TV device.
Pre-Requirement Steps
-
Enable USB Debugging Mode and Network Debugging on your Android TV. To do this; go to settings >>> about >>> Tap on the “Build Number” 7-10 times consistently to enable “Developer Options,” then go to the “Developer Options” and enable USB Debugging Mode, Network Debugging. There is no complicated process.
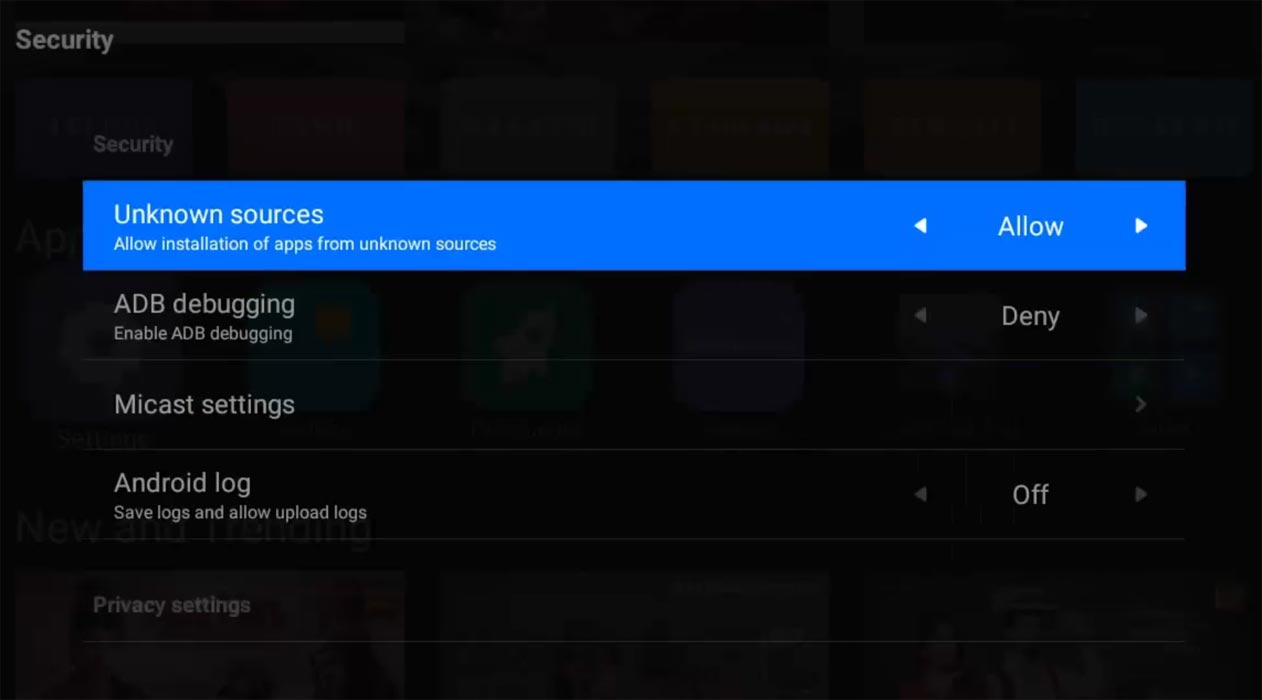
- Enable Unknown sources app installation on your Android TV. To do this; go to settings >>> security >>> Unknown sources app installation.
- Download Google TV Home (Android TV), Button Mapper, and Home Screen Launcher APK files. Copy it to Your external memory Memory- OTG Memory. You can use your pen drive as an external memory. You can also install the Button Mapper and Home Screen launcher from your Android TV Play Store.
Install Google Home, Button Remapper, and Home Screen Launcher APK files in your Android TV
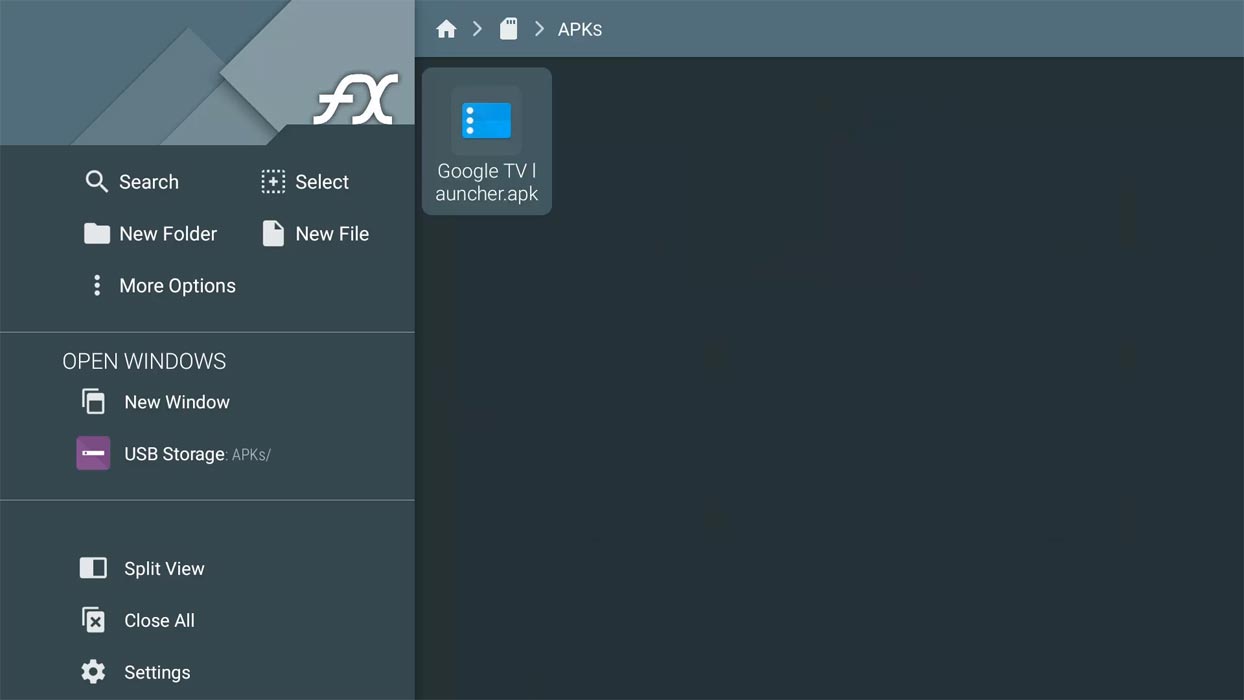
Open external memory and Install Google Home other APK files. Since we already enabled unknown sources, there will be no warning that will happen if you face “Installation blocked,” Enable Installation in for your File manager source.
Configure Google TV UI as a Launcher with Button Remap and Home Screen Launcher
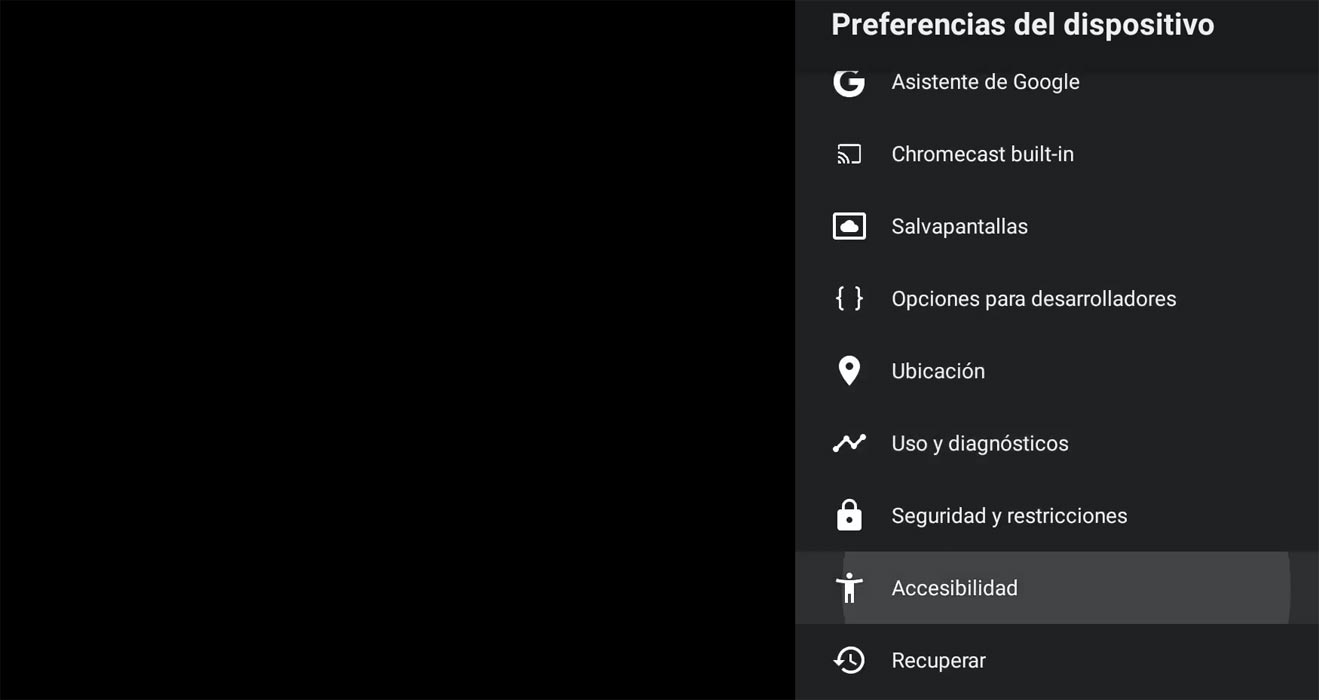
- Enable Accessibility services for Button Remapper on your Android TV. To do this; go to settings >>> Accessibility >>> Services. Enable the option for Button Remapper.
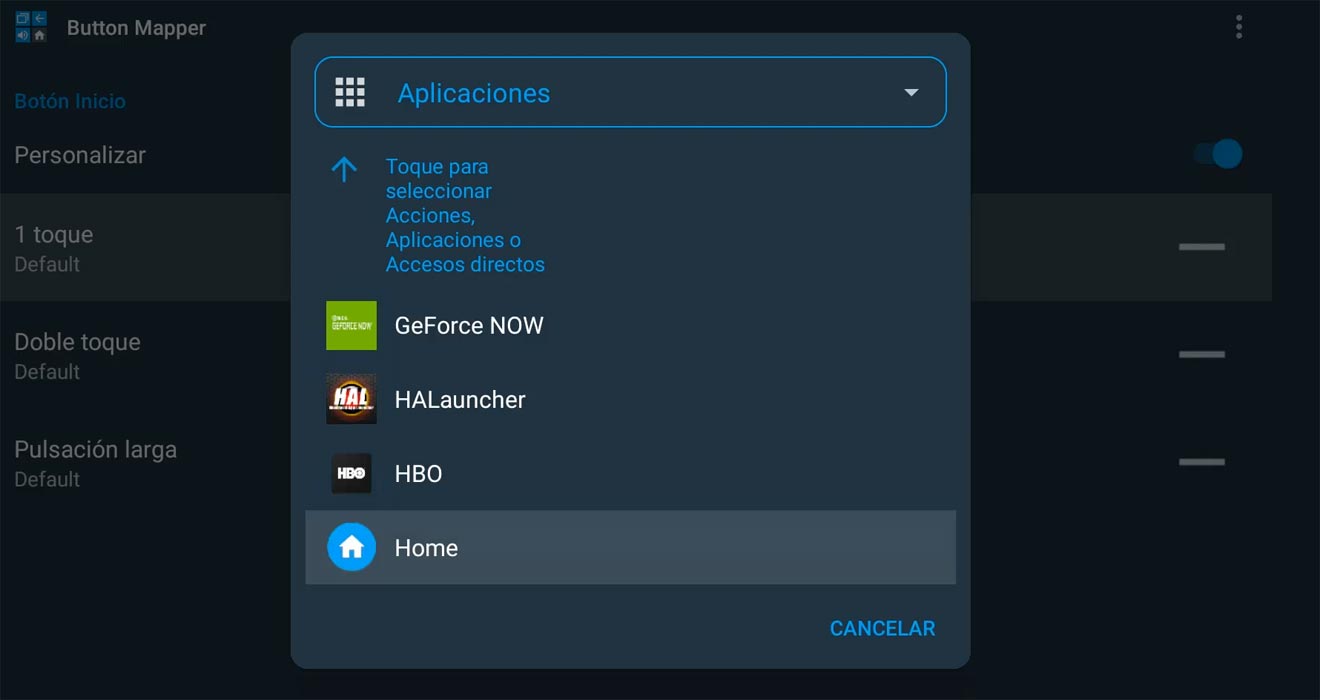
- Open Button Remapper App and Choose Home Button. Configure the Home button to the Home Screen Launcher app that we installed along with the remapper.
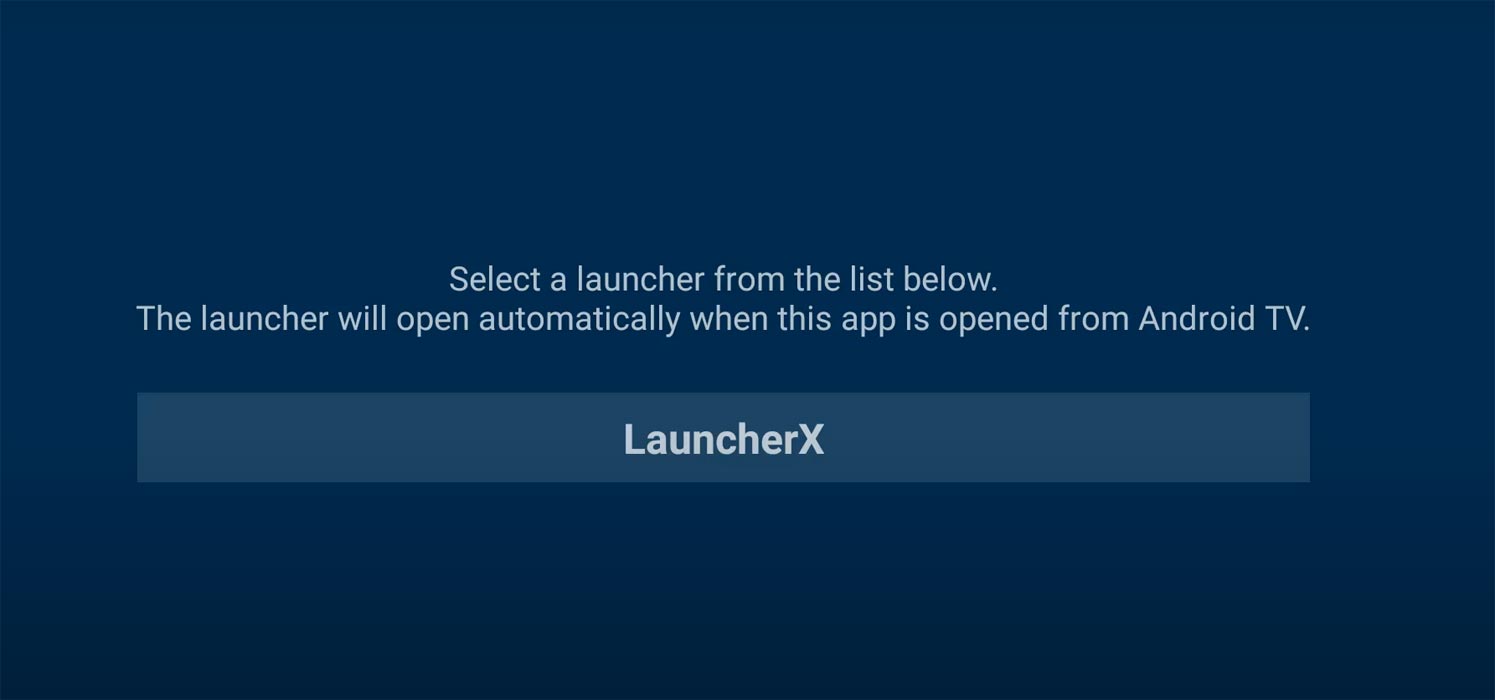
- Now Go to the Home Screen Launcher app and Choose Google Home (Launcher X).
- Press Home Button in your Android TV device with your remote. Now you can see Google TV UI.
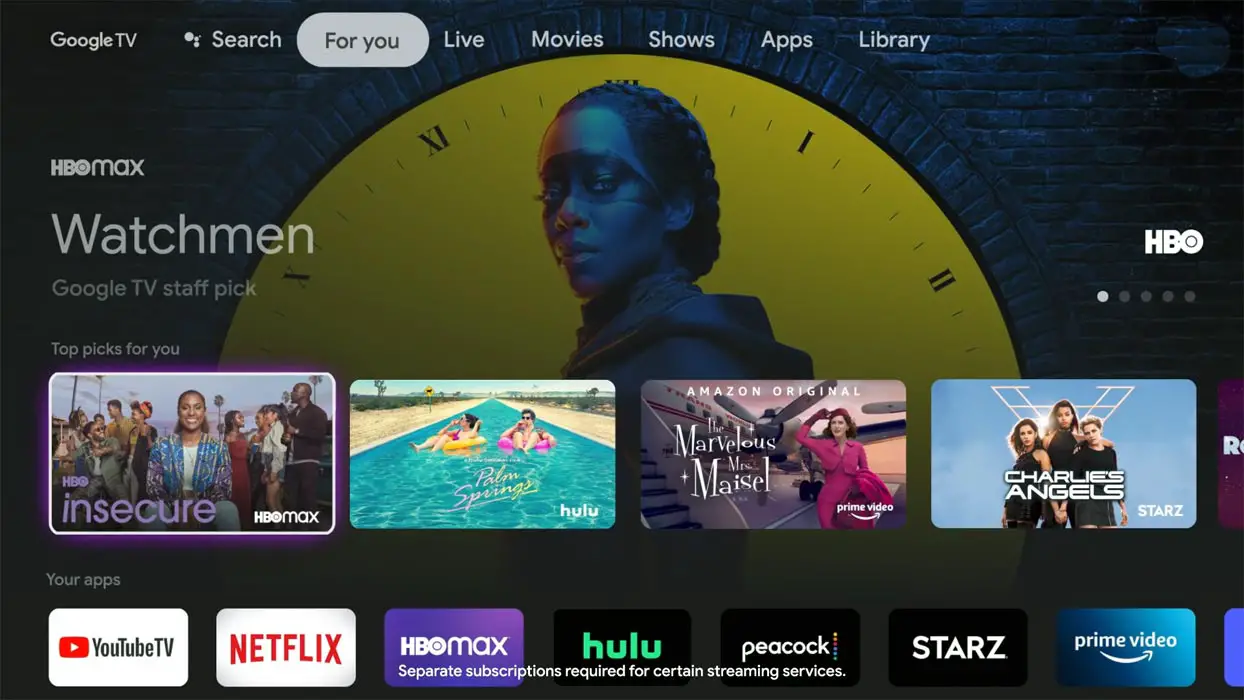
Google New TV UI in All Android TV Devices using ADB Commands
We need three application files for the process, and we need Developer access in your Android TV.
Things to check out for;
-
Make sure your TV is based on Android OS. Some of the Smart TVs may look like Android, But they are made of custom OS of the manufacturer. You can check these details in the Settings>About section.
-
You should have Android Pie 9.0 or above version on your Android TV device.
Pre-Requirement Steps
-
Enable USB Debugging Mode and Network Debugging on your Android TV. To do this; go to settings >>> about >>> Tap on the “Build Number” 7-10 times consistently to enable “Developer Options,” then go to the “Developer Options” and enable USB Debugging Mode, Network Debugging. There is no complicated process.

- Enable Unknown sources app installation on your Android TV. To do this; go to settings >>> security >>> Unknown sources app installation.
- Download Google TV Home (Android TV) and Google Base APK files. Copy it to Your external memory Memory- OTG Memory. You can use your pen drive as an external memory. You can also install the Button Mapper and Home Screen launcher from your Android TV Play Store.
- Download and Install Remote ADB Shell on your mobile.
Install Google Home and Google Base APK files in your Android TV

Open external memory and Install Google Home other APK files. Since we already enabled unknown sources, there will be no warning that will happen if you face “Installation blocked” Enable Installation for your File manager source.
Configure Google TV UI as a Launcher with Remote ADB Shell
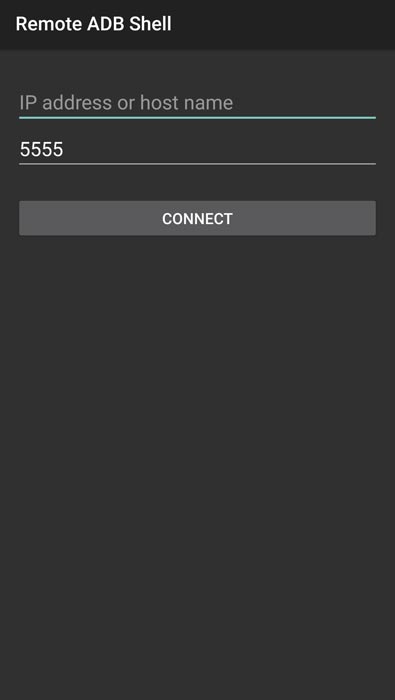
- Connect both your Android TV and Your mobile in the same Wi-Fi connection. Open the Remote ADB Shell app and enter your Android TV IP address. You can find your TV IP address in Seettings> Device Preferences>About>Status>IP address. Keep the port value as of 5555. Tap “Connect.”
- Your TV will ask for “Allow USB debugging.” Enable the option.
- Now type the following command and hit enter. We only disable the current launcher if you want to return, You won’t lose any data and settings.
- pm disable-user –user 0 com.google.android.tvlauncher
- To enable the old launcher again, Type the below command and hit enter.
- pm enable com.google.android.tvlauncher
- Press Home Button in your Android TV device with your remote. Now you can see Google TV UI.

Wrap Up
When you don’t have Android OS on your TV, You can purchase Google TV Chromecast for $49. But when you already have Android TV, Android TV box, or TV Stick and you want to use a new Google TV UI, You can follow any one of the above methods to achieve Google Launcher in your device. Compare with any other custom made launchers by manufacturers Google UI looks clean and have most of the user required features. Also, there are no unnecessary Ads other than recommended contents based on our usage. Following the same ADB method, you can uninstall bloatware apps. What is your experience with the new Google TV UI? Did you feel it is useful to compare with your Old launcher? Comment below.

Selva Ganesh is the Chief Editor of this Blog. He is a Computer Science Engineer, An experienced Android Developer, Professional Blogger with 8+ years in the field. He completed courses about Google News Initiative. He runs Android Infotech which offers Problem Solving Articles around the globe.


Leave a Reply