LG is a bit slow in updates compare with other Manufacturers. But, the fact is you will get assure major upgrades from them. LG G7 ThinQ comes with the Oreo version, and now It got Pie 9.0 update. Most of the Manufacturers will release two major upgrades for their Flagship phones. So, we can expect Android 10 of this mobile. Below I Mentioned two methods. LG UP tool is for regular users, and the TWRP based way is for Rooted users. After the firmware flash, Don’t forget to flash Additional files with magisk. Or Else, you will lose root access. When you accidentally bricked your mobile, you can use this method to repair your mobile. There are plenty of features like Adaptive Brightness, Adaptive Battery, and HEIF Image supported are added in this upgrade.
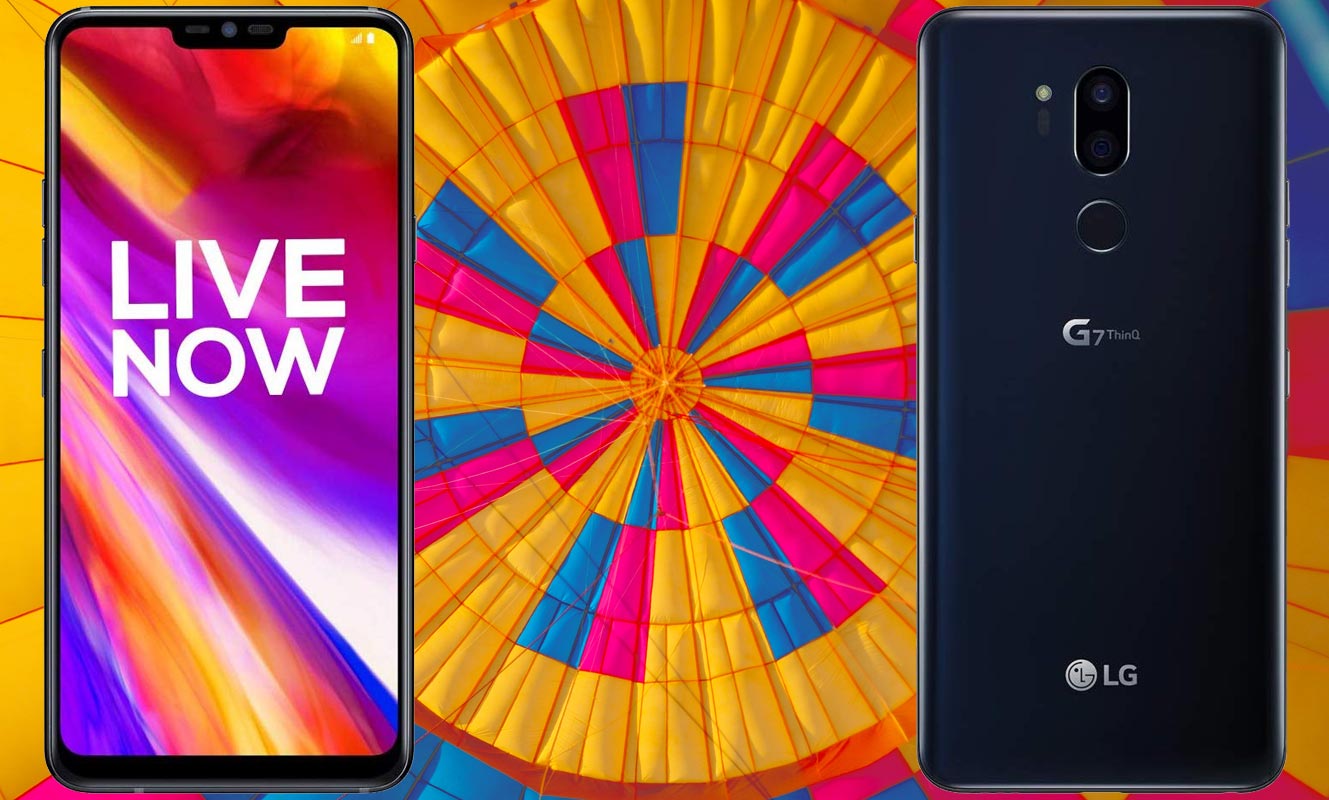
Table of Contents
Unlock Bootloader
Bootloader unlock is a necessary step for flashing firmware in your LG devices. Some International versions can be unlocked quickly by enabling OEM to unlock in Developer settings. But, some US Variant Devices need to be unlocked using Device ID and some fastboot steps. Before everything, Please enable OEM to unlock in settings.
![]()
Go to settings >>> about >>> Tap on the “Build Number” 7-10 times consistently to enable “Developer Options,” then go to the “Developer Options” and enable USB Debugging Mode and OEM Unlock.
You can refer to- Unlock Bootloader.
Flash Firmware Pie 9.0 in LG G7 ThinQ devices
Official OTA Method
If you want to update a security patch to the current month. Don’t go for the manual method. Try this Automatic method.
The process is straightforward and simple;
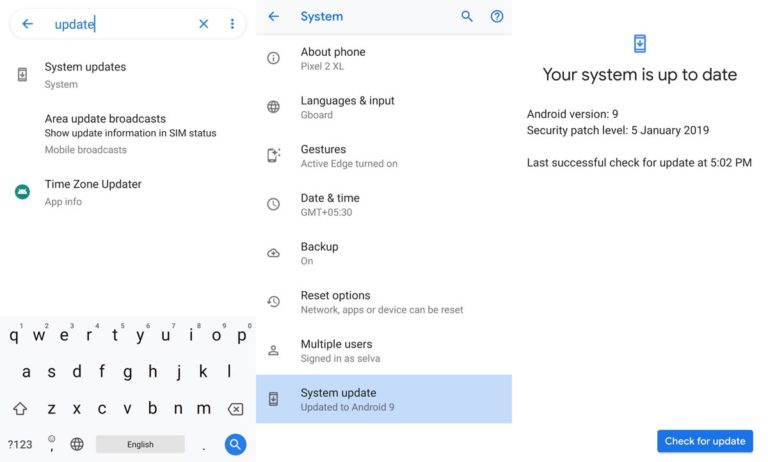
Go to your device setting menu and scroll down to the bottom
Tap on “Software Update”
You may have to refresh the page to start the OTA upgrade process.
Manual Method
Run a backup
Always and always, you must run a comprehensive backup of all files, documents, and data on the Android device to be worked on. While the action may be done by a professional, if there be any mistakes, all data on the mobile will be lost.
So, to be on the safe side, do run a backup first before continuing.
Charge the device fully
A lot of people will say you should charge the device up to 50% battery percentage or more. We recommend a fully loaded device so that there won’t be any stories.
Download LG USB drivers
Yeah, it is essential. You must download and install LG USB driver on the PC which you’ll be using for this action.
Get a suitable LGUP version
It is a mandatory step to select the correct version for your device. LG G7 ThinQ Supports 1.14 release, which can work well with Uppercut 1.0 Tool.
Steps- Regular Users
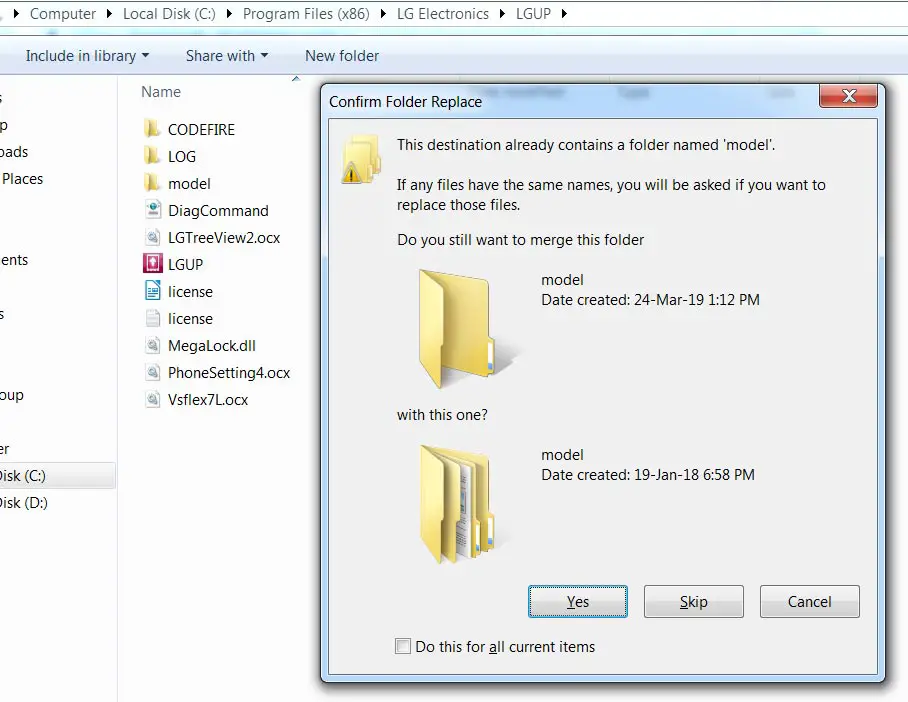
Follow this link to Download LGUP_Lab_Frame_Ver_1_14.msi and install it on your computer. Download LG UP Mod files, Extract them, and Copy these files into the LGUP folder, Where you installed LGUP tool. It will ask for replacing the files, Select “Yes” to replace old files.
Now, download the official firmware for LG smartphones. For Proper firmware, refer below model numbers.
Make sure you install all the tools above on the PC, then, get the phone and follow the steps below;
Switch off your LG G7 ThinQ.
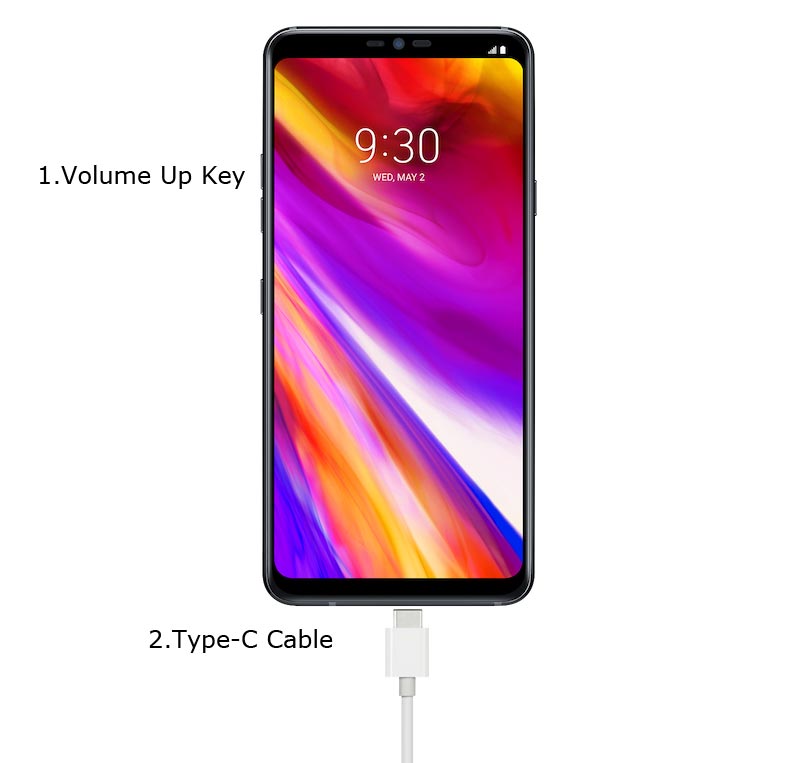
Connect your PC with Type C Cable. Boot the device into download mode by holding down the volume up button at the same time. Continue holding down these keys, Now connect Type C Cable and connect this with the PC.
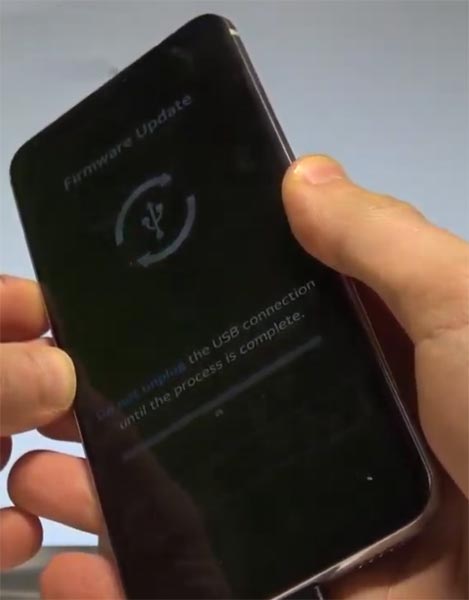
Wait until the LG Logo appears on the device screen, and it will say “Download Mode.” Now, release the power button while still holding on the volume up button.
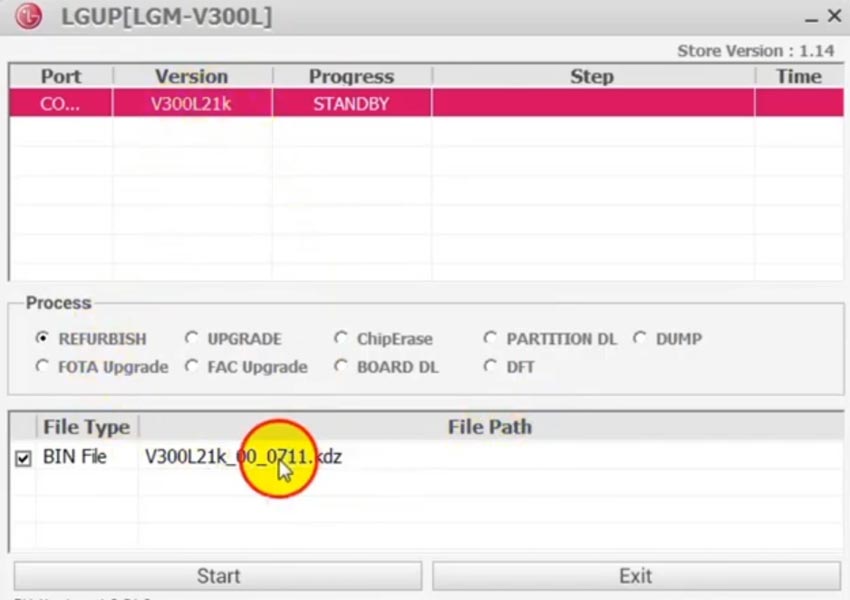
Open LG UP. It will show your device. Select the device and tap on the “Upgrade” option, then choose the firmware you downloaded initially.
Tap on the Start option and wait for the process to complete.
After the process is completed, reboot your smartphone.
Steps- TWRP Custom recovery Users
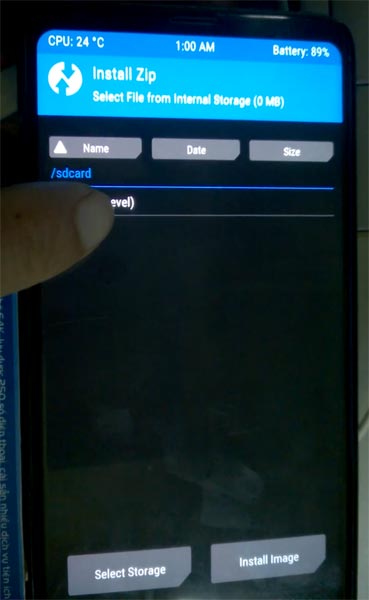
- Download respective firmware from the above steps.
- Download Magisk.Zip (Latest Version), lg-rctd-disabler-1.0.zip and no-verity-opt-encrypt, Copy all the files to Your Mobile external memory.
- Switch off your device. Then, enter into Fastboot mode. To do this; Connect your Type-C Cable and press, hold down the Volume Down button.
- In TWRP, Make a full Backup on External SD Card or Pendrive using OTG Cable.
- Select Wipe->Advance Wipe->Select Cache Data.
- Return to Home of TWRP select Install. Select the firmware file.
- Return to Home of TWRP select Install, Select Magisk.Zip. The Same way install lg-rctd-disabler-1.0.zip and no-verity-opt-encrypt. Return to Home and reboot to Bootloader again.
- After the above steps again, Select Wipe->Advance Wipe->Select Cache Data. Flash Magisk still to ensure the Pie version will not remove the Magisk. After this process, reboot your mobile.
Check Firmware
Since you have just flashed new firmware to your LG device, you may want to check if the firmware is actually what you installed. Follow the guide below to check your device firmware version.
You can check the firmware details >>> settings >>> about >>> version.
LG Pie 9.0 Firmware
There are plenty of features added in the Pie 9.0 version, compare with the Oreo version. Here I mentioned some important features.
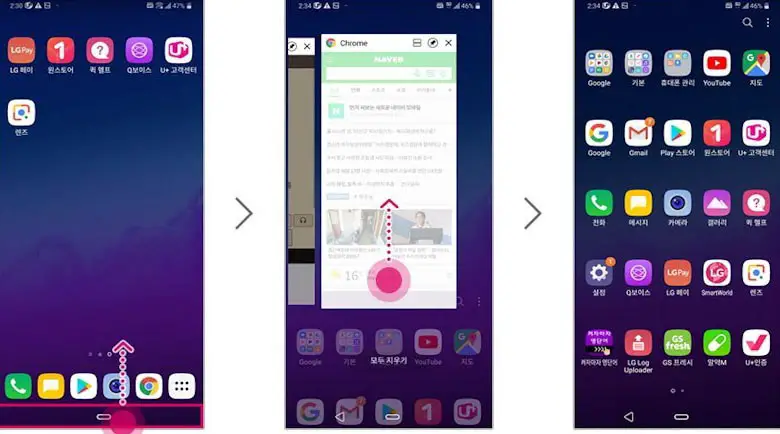 UI Enhancements
Content, settings, and every option are modified to use mobile in handy.
Options moved to the Bottom position so that you can use comfortably in one hand.
Night Mode available to reduce eye stress.
Notifications
You can quickly reply to messages within the notification bar.
Image thumbnails are available.
Always On Display
New clock styles have been added, Charging Information is also available.
Settings
Menus have been reorganized to find every essential and frequent usage easily.
Phone
Call History increased.
Contacts
Now you can manage contacts from various accounts with a new drawer menu.
Camera
Enhanced features are available now with AI Features.
Gallery
Photo Editor App Available.
My Files
New Storage Analysis Tool is available to Monitor Storage and RAM Usage.
Other improvements and changes
Access Kids Home Available in the quick panel.
Call stickers have been removed.
HEIF images are now supported in Gallery and other apps.
- Special Pie 9.0 Gestures added.
Final Words
This is it. Using the above two methods, you can Install your firmware in your LG G7 ThinQ in both the Regular and Root stages. TWRP process may require additional flashing steps and files. As a Root user, you are already familiar with these steps. We should flash encryption.zip files to avoid encryption issues. Some USA Devices don’t support Bootloader unlock function; for those devices, you can try with LG Bridge Tool. Download and install the LG driver from this article and install the LG bridge. Most of the time, It will work great. If the device doesn’t work Comment below with Model number. We will figure out what we can do.

Selva Kumar is an Android Devices Enthusiast, Who Can Talk and Write About Anything If You Give a Hint About the respective devices. He is a Computer Science Graduate and Certified Android Developer, Making His Career towards this Technology. He is always eager to try new Android devices — not only Software level but Hardware-level Also. Beyond this, He is a Good Swimmer, Guitarist.


Leave a Reply