Xiaomi Redmi 7A focused on the budget variant. All of the Xiaomi phones are reasonable prices based on their category. For around $100, you will get decent specs on this mobile. The beauty is It comes with MIUI 10 based on Pie 9.0 version. If you bought this mobile, you know the reason why you bought this. You know the limits. By rooting, you can squeeze some performance from your mobile. But, It is hardware limited. You can’t expect a lot of performance. But, Your reason is using root apps and Some custom ROMs you can root your mobile. If you are a regular user, I won’t recommend to Root your device. After Rooting, you will not get the official updates from Xiaomi. When you hate MIUI and want to try near Stock Android ROMs, you should go with the Official versions. Unofficial ROMs may have Major bugs. If your purpose is to disable Ads in the System Apps, you can do this without Rooting. I attached the link at the end of this article to do this. If you are a Developer or regular root apps user, follow the below guide to achieve root on your device.

Table of Contents
Why should you Root Xiaomi Redmi 7A?
We thank the TWRP team, MIUI Forum Member, and XDA Developer- sazzadais and JarlPenguin. Without the TWRP developer’s work, this process can’t happen. If you want to root your mobile, you should have a proper reason, and you know what you are doing. Yes, with a minimum of 2/3 GB RAM and Qualcomm SDM439 Snapdragon 439 processor, You can use this mobile without root for 2-3 Years If your use is for basic operations. Don’t root because everybody is saying when root your mobile it can become fastest. No. Rooting is to extract some performance from the device. But, you already have Powerful specs and software. So, If you are addicted to some root apps, you can root. But, if you want to test, I won’t recommend it.
How to Root Xiaomi Redmi 7A Pie 9.0
Xiaomi Redmi 7A International Variants comes with a flexible bootloader other than some locked devices. Example- In Samsung, Verizon mobiles come with locked Bootloader. This means that different smartphone variants can be easily rooted. Also, the device can accept to install TWRP recovery or any other custom recovery file/app alike.
TWRP recovery is a custom recovery file that must be installed on your devices because you can root them successfully. In this article, we explained the easiest method to follow and install TWRP recovery on Xiaomi Redmi 7A. However, the tool required for rooting this device is the Magisk App.
With the help of TWRP Recovery, you can quickly flash the latest version of Magisk into your Redmi 7A to gain root access. Before sharing the tutorial, you may want to know that, with the TWRP recovery present on your device, you can easily install any custom ROM or firmware. Does it seem complicated? Relax, everything will be explained succinctly in bullets.
Things to check out for;
-
Make sure your device battery is charged above 50%
-
Backup your current files and data, full data loss process (save them on external storage).
Pre-Requirement Steps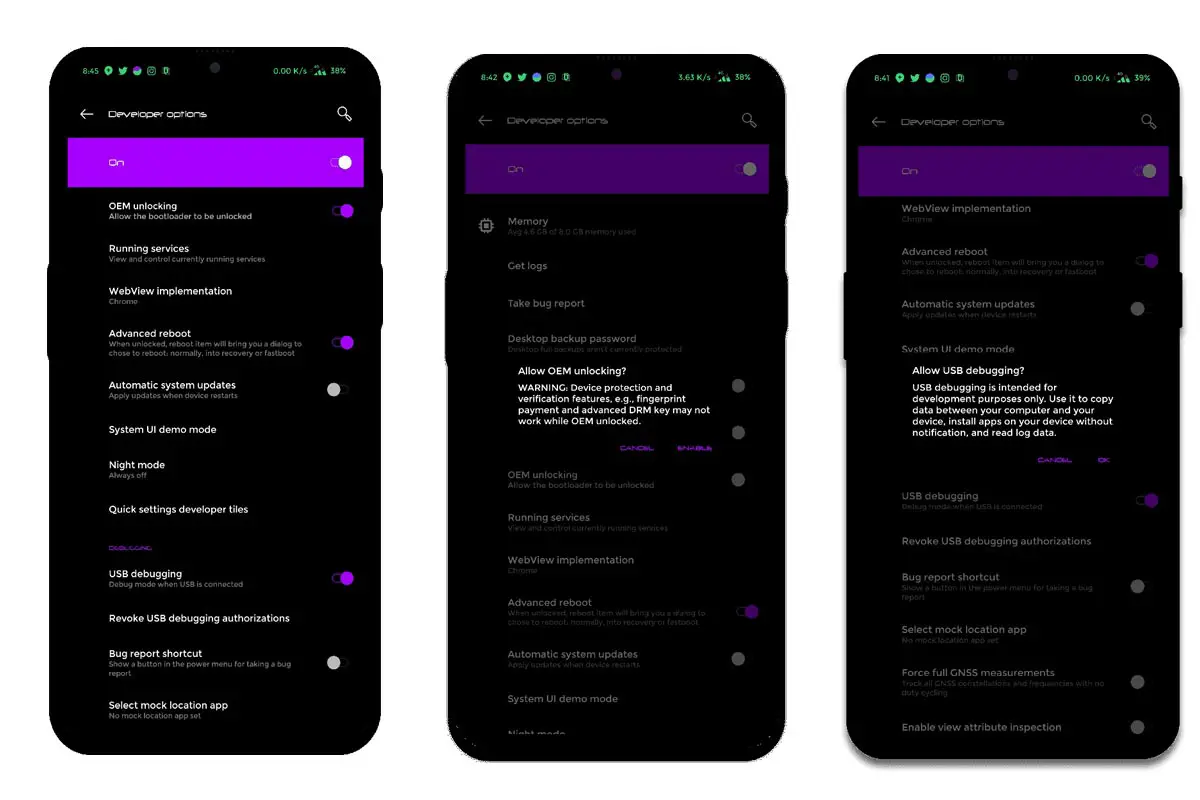
-
Enable USB Debugging Mode and OEM Unlock on your mobile. To do this; go to settings >>> about >>> Tap on the “Build Number” 7-10 times consistently to enable “Developer Options,” then go to the “Developer Options” and enable USB Debugging Mode, OEM Unlock. There is no complicated process in Xiaomi Redmi 7A.
-
Also, download the ADB drivers. Install it on your PC.
- Download Magisk.Zip (Latest Version) and Copy it to Your Phone SD Card or External Storage Using OTG Cable.
-
Download and save the TWRP Recovery on your PC and rename the recovery file to recovery.img. Copy this file to the folder where you installed ADB and Fastboot.
- Download Disable Force Encryption Treble and Save it in your External Storage.
- Download lazyflasher-no-verity-opt-encrypt.zip and Save it in your mobile SD Card.
Unlock Bootloader using ADB and Fastboot
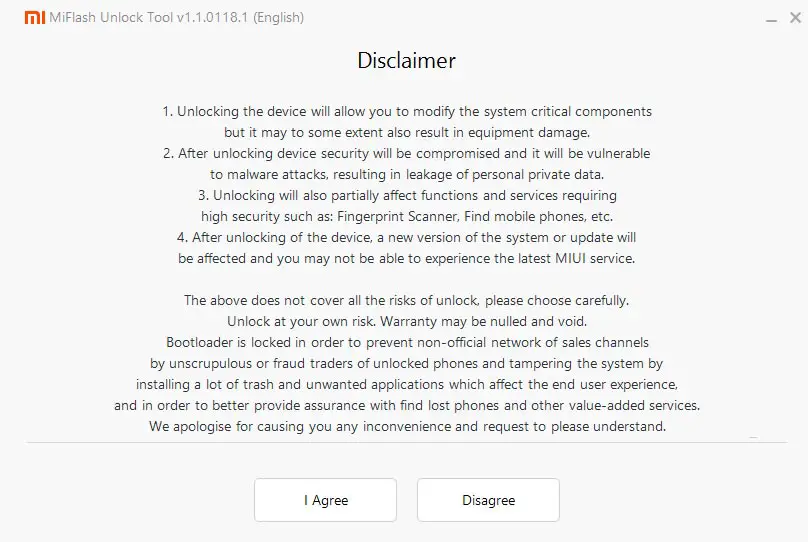
- Go to the official Mi Bootloader Unlock website and log in with your Mi Account.
- Enter your Mobile details like phone number, IMEI, reason. You will get the confirmation code on your mobile. Enter the confirmation code on the Mi website and request for unlocking. You will receive a confirmation mail after the approval in 2-10 Days.
-
Install the Mi Flash Tool in the received mail. Log in with your Same Mi Account, which used to get the Software.
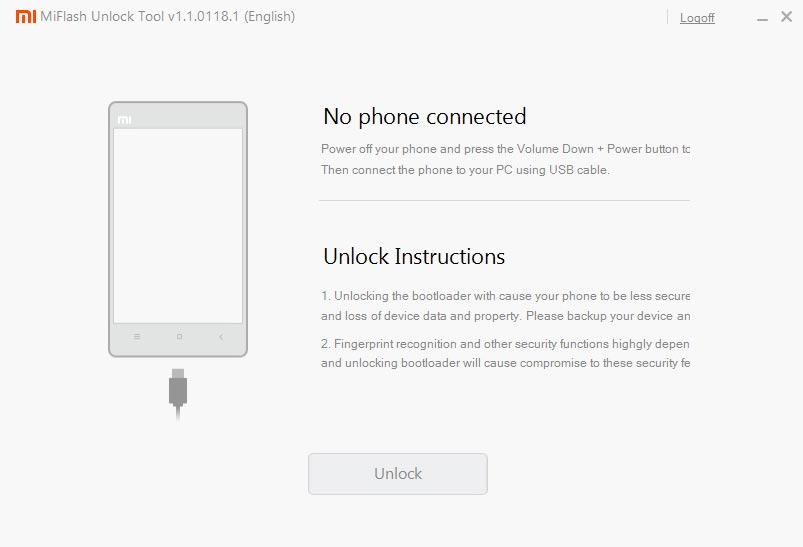
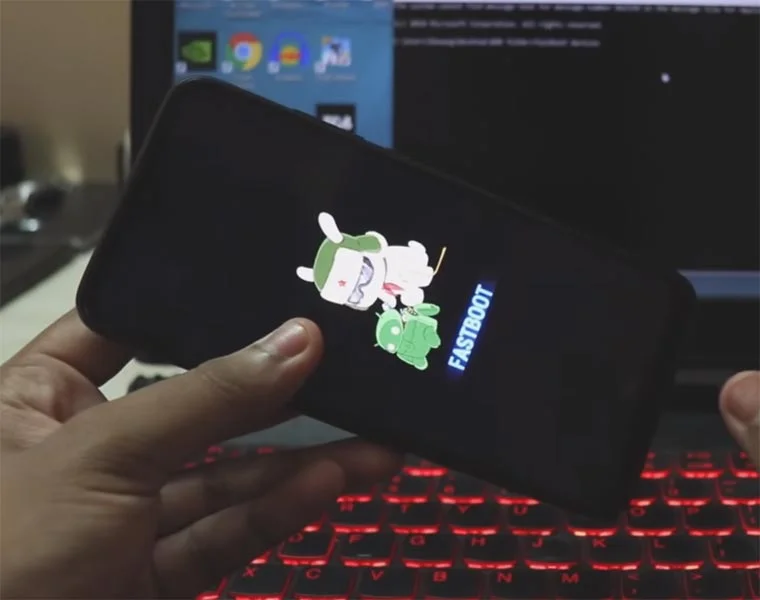
- Switch off your device. Connect your mobile to the PC. Then, enter into Fastboot mode. To do this; Press and hold down the Volume Down + Power buttons at the same time for some time. It will boot your mobile into Fastboot mode.
-
After you successfully boot into Fastboot mode, Select Unlock. It will take 2-3 minutes to finish the process. After the successful process completion, Reboot your mobile.
-
Check again enable “Developer Options,” then go to the “Developer Options” and enable USB Debugging Mode, OEM Unlock. Sometimes they disabled themselves after the boot.
Flash TWRP
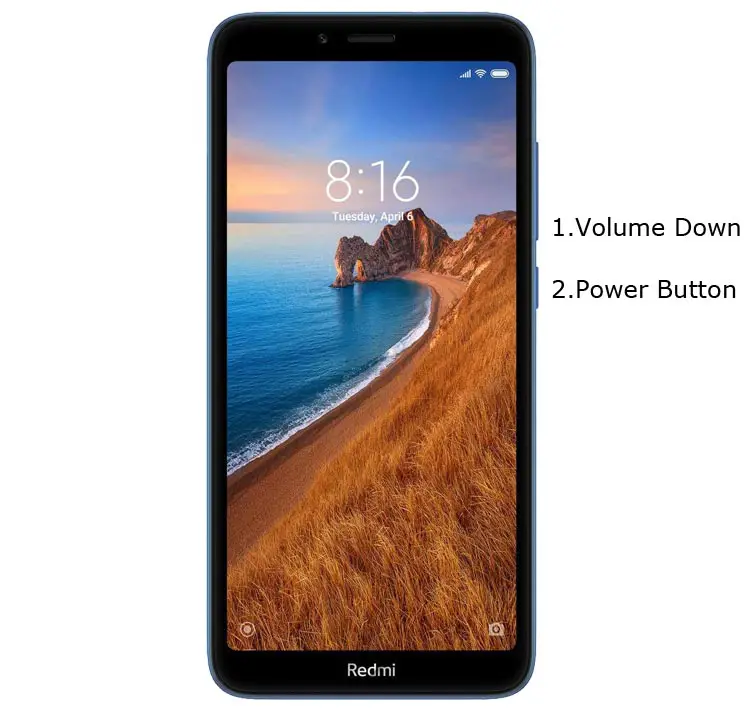
- Switch off your device. Connect your mobile to the PC. Then, enter into Fastboot mode. To do this; Press and hold down the Volume Down + Power buttons at the same time for some time. It will boot your mobile into Fastboot mode.
-
Now, connect the Xiaomi Redmi 7A mobile to the computer via USB cable.
-
Launch the fastboot on your computer. Open a Command prompt on your PC and type below command.
- fastboot flash recovery recovery.img

-
Don’t boot into Normal OS. Type the below command to Boot into TWRP.
- fastboot reboot recovery
- After the process complete, It will boot into the temporary TWRP. If you can’t boot into TWRP, press and Hold Volume Up Button Until TWRP appears. Don’t Boot into standard OS until we flash magisk.
Install Magisk, lazy flasher and Disable Force Encryption Treble in your Xiaomi Redmi 7A using TWRP
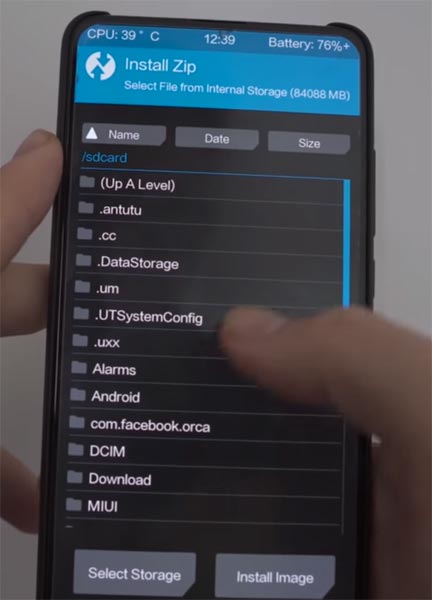
- Select Wipe->Advance Wipe->Select Cache Data.
- Return to Home of TWRP select Install.
- Select Disable Force Encryption Treble.Zip.
- After the Installation Again, navigates to Home and Select Install.
- Select lazy flasher-no-verity-opt-encrypt.zip. The same process goes for Magisk.zip. After the successful installation, Reboot your mobile.
- Don’t use Add more zips option. Install files one by one.
- You can also install Magisk Manager in your Mobile Applications. Install a Root checker to verify your Root Status.
What More?
Xiaomi Redmi 7A has a minimum of 2-3 GB RAM of RAM. It is a Good Mid-Range phone with a reasonable price; If you feel you have not sufficient RAM, Refer- How much RAM you need. There are Major regular updates and monthly updates from Xiaomi for a long duration. If you compare it with Old devices, they still receiving updates. So, you know what you are doing and the real purpose, you can root your device. If you want to disable Ads, you can use other methods, which doesn’t require root. Xiaomi promised to optimize these Ads in the upcoming versions.

Selva Kumar is an Android Devices Enthusiast, Who Can Talk and Write About Anything If You Give a Hint About the respective devices. He is a Computer Science Graduate and Certified Android Developer, Making His Career towards this Technology. He is always eager to try new Android devices — not only Software level but Hardware-level Also. Beyond this, He is a Good Swimmer, Guitarist.


Leave a Reply